How To Dissolve Rocks To Expose Hidden Crystals
One of the niftier ways to reveal what you’d like inside of your mineral specimens is to use acid to dissolve the host rock. This can help reveal crystals in the stone, or even liberate crystals from the host rock before further cleaning. It’s certainly a lot faster than a chisel!
But, you still need to know how to do it safely and what rocks you can and can’t use acids on. Let’s take a look at our step-by-step guide to dissolving rocks to expose crystals.
What You Need
You don’t need a lot to pull this off. The more important thing is that you’ll have to do it safely, which requires proper PPE.
Make sure you have the following:
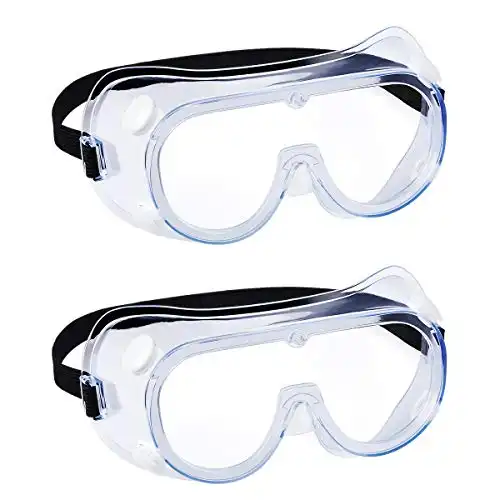
- Safety Goggles– Goggles and not normal safety glasses. This is to protect from splashes, which will easily go around lenses and can cause catastrophic damage to your eye.
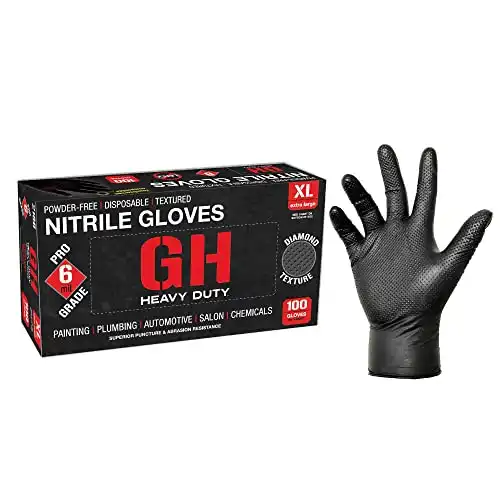
- Nitrile Gloves– Get some in the appropriate size. Nitrile is preferred due to its ability to resist chemical attacks more than most of the disposable gloves found.
- Apron or Tyvek Suit– To protect your clothes and torso from the acid. If you’re using one of the stronger acids I recommend a disposable Tyvek suit.
- Respirator– Acid fumes will kick you around and put you in the hospital before you realize what’s happened. Don’t play around, wear an appropriate chemically rated respirator.
- Bucket or Eyewash Station– Just in case something happens. While the portable stations are expensive they’ll save you thousands if you end up needing them. If using a bucket then fill it with a saturated water/baking soda solution to help neutralize the acid if something happens.
If you’re lacking any of these… I recommend picking them up. This will protect you from all but the worst accidents. At the bottom of the article I put a visual list of needed supplies.
Accidents with acids are not a pretty sight. Make sure you have your PPE.
Once you know you have the equipment to do this safely, you’ll also need the following:
- HDPE Bucket– HDPE is very resistant to acid attacks and makes a good container for this task. It’s #2 plastic if you flip over a bucket you already have to take a look. No metal buckets are allowed. Otherwise, you’ll have to compare acids to plastics on a one-by-one basis.
- Your Chosen Acid- We’ll discuss how to choose the right acid for your needs in just a moment.
- Baking Soda- For neutralization of the acid post-processing the mineral sample.
- A Safe Location- For the bucket after it’s been filled. The bucket should be sealed and placed in a location where it can’t be knocked over, accessed by children and pets, or exposed to the weather.
What Kind of Stones to Acid Dip
Not every crystal and stone combination can be treated this way. In some cases, you’ll need to remove the material by hand with either a chisel or sandblaster depending on what it is and how it’s attached.
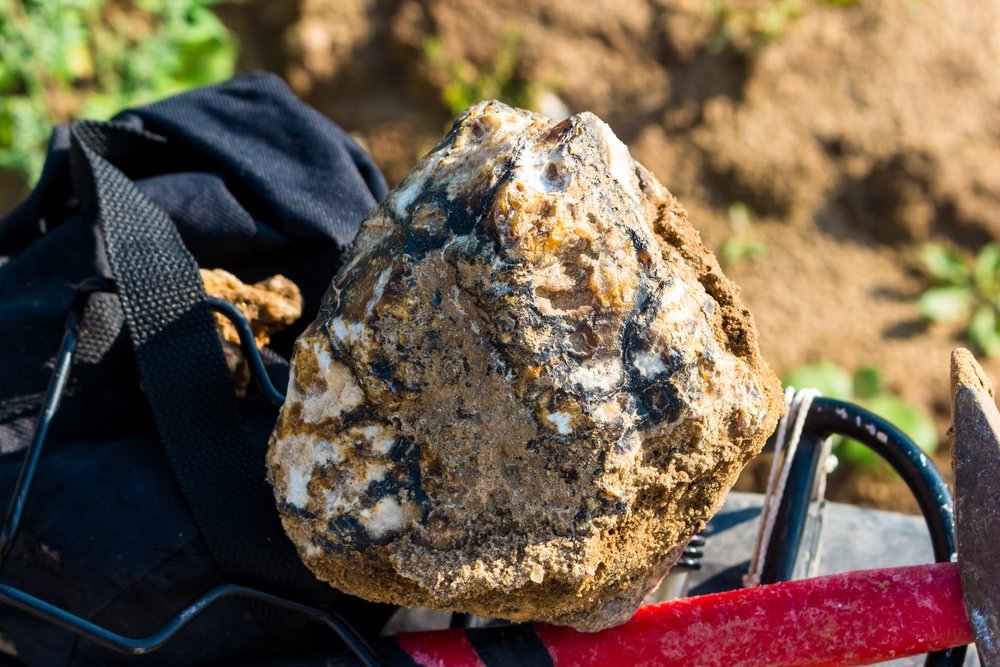
Acids are great for liberating silicate minerals from their base stones in many locations. For instance, many of the agates I find in California have limestone on their exterior and sometimes into vugs in the stone. While limestone is easily removed mechanically from the exterior, I’ll use hydrochloric acid to dissolve the limestone still present in the vug afterward.
Identifying the rock you wish to remove is the first part. Bedrock isn’t all the same and the various types of matrix on crystals can be quite stable. Sometimes more stable than the crystal itself, as in the case of staurolite in mica.
As a general rule, the most commonly dissolved matrix rocks are calcium-based. In particular calcium carbonate in the form of calcite, limestone, or aragonite can be removed from a specimen by acids with little difficulty.
It’s easy to find the chemical resistance of stones online with databases like mindat. Compare them.
Do not just stick random stones in acid. You can destroy your samples, do nothing at all, or even cause nasty chemical reactions you weren’t expecting. If you’re not an experienced hand with stones you need to do the following tests at a minimum:
- Hardness Testing
- Streak Testing
- Vinegar Testing
The latter is simple enough: add a drop of vinegar to both the desired crystals and the bedrock. If it fizzes then it reacts with acids.
The most frequently treated specimens with acid are quartz specimens. You’ll also find people treating feldspar and a few other non-reactive minerals this way.
The following crystals aren’t suitable for any kind of acid cleaning and will need to be taken care of manually:
- Calcite
- Gypsum (selenite, desert roses, etc.)
- Fluorite
- Lapis
- Turquoise
- Malachite
- Chrysocolla
But make sure you check before committing to cleaning them this way.
Some stones can be dipped shortly but may be affected. These include stones like peridot, hematite, and pyrite.
The important thing is to check the literature yourself and not trust a random source. You can damage specimens easily with acids, in addition to the whole process being a bit more dangerous than most parts of the hobby.
I will say that all forms of quartz, chalcedony, and opal are usually immune to chemical attacks from acids. Or at least close enough to immune that you don’t need to worry about etching or other damage.
That also means that the majority of igneous rocks are also not reactive with acids. Things like granite or pegmatite still need to be handled manually. As a general rule, you’ll find that the practical use of acid to liberate specimens is limited to removing carbonates and metallic oxides while many host rock types will be immune to acid attack.
Choosing an Acid
I will not be getting into using nitric acid or hydrofluoric acid in this article. Neither is suitable for use by someone without a good amount of chemical experience. In particular, hydrofluoric acid is both corrosive and incredibly toxic. A small splash on bare skin can cause extensive damage.
In the case of nitric acid, it’s mainly the noxious fumes to be worried about. Using it will require more extensive protection and a fume hood if you’re indoors.
There are three excellent acids that should serve us well in most cases:
- Vinegar- Use white vinegar labeled as 10% acetic acid. This is useful stuff for any rockhound, but it’s slower and not strong enough to remove all forms of the matrix from stones. Some also dislike the smell and if used indoors it can be quite strong.
- Citric Acid- Can be found in grocery stores. Saturate a solution of distilled water with the powder for a strength similar to vinegar without the smell.
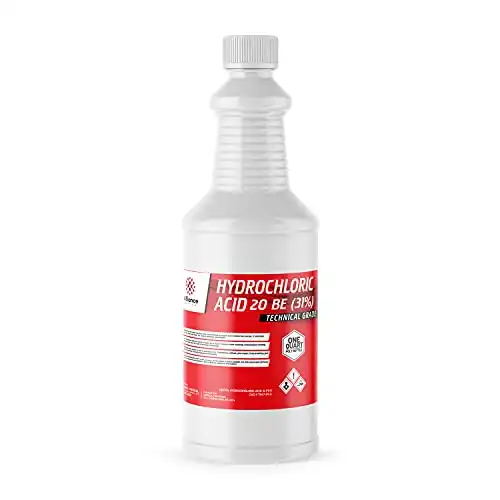
- Hydrochloric Acid- HCl, usually in the form of muriatic acid, is a whole different league of danger from vinegar. That said, it’s safe enough for home use with precautions and it can remove the more stubborn minerals you find.
A few others see some special uses. Oxalic acid, or “Iron-Out”, is great for removing iron oxide stains from stones, for instance. It’s often the preferred cleaning method for quartz and chalcedony specimens with orange crustings of rust after being cleaned. It can weaken some iron-based minerals if you’re looking to separate crystal types.
Use the weakest acid you can. I have plenty of experience with chemicals and formerly held a HAZMAT license, and I still almost never use anything stronger than vinegar for this task. Stronger acids are needed in some cases, but a lot of the time an extra day in vinegar ends up being cheaper and safer than moving to a compound with a lower pH.
Weaker acids will take longer. Specimens that end up in vinegar in my shop, for instance, often end up in there for a couple of weeks before I remove it and see what’s been softened enough to remove with a wire brush.
Be aware that there are also some specific interactions with acids. I know of none for acetic acid off the top of my head, but HCl has some very strong reactions with stones that are normally “acid-proof” due to molecular interaction instead of solubility.
1. Prepare Your Acid Solution
Vinegar once again makes things simple in this case: just dump it in the bucket until it covers the rocks. I’ve never seen any need to dilute vinegar for any but the most sensitive tasks, and when we’re dissolving matrix off of crystals we want it as strong as possible.
The first step when we’re working with chemicals is always to don our PPE. I can tell you, from experience, that even vinegar can get surprisingly nasty if enough of it gets in the air. Any other acid can do serious damage before you realize what’s going on.
In the case of any other acid, we have a simple protocol that must always be followed.
Acid goes into the water, never vice versa. When you pour water over an acid it creates a thermogenic reaction as it dissolves, increasing the heat of the solution. In small amounts, this can cause a bit of bubbling.
In larger amounts, this will cause a series of unfortunate events. The water will boil, flinging droplets of low pH acids, and can cause a burst of steam. Steam can scald you, and this steam will be carrying acid along with it to make your day just a bit worse.
Never, ever pour water into or over an acid. Write it down if you have to, this is one of the axiomatic rules of chemical safety.
Muriatic acid is the strongest thing I would use without dilution.
Fill the bucket just to a level over the stones to be cleaned.
2. Soak Stones in Acid
Next up you’ll want to carefully place your stones in the bucket if you haven’t done so already. Vinegar and other weak acids can take a few weeks to show serious results. Stronger acids will often take a few days to a week.
Be careful about allowing stones to sit too long in strong acids. Some can be etched or damaged by a very long exposure, although the majority will be fine.
In any case, either seal the bucket or put something over the top that’s resistant to acid. Plywood is a decent bet with the acids listed above. The important thing is to have it closed and placed somewhere that it won’t be knocked over.
When you check the stones put on your respirator. Often you’ll have fumes built up inside the sealed bucket which release when it’s opened. This can be uncomfortable, especially if you’re working with muriatic acid.
Check on the stones periodically. If you’re not sure if they’re done you can remove a specimen, dip it in baking soda saturated water, and then take a look. Often a wire brush will take off the rest of the host without any issues after a few days.
Keep it going until you’re happy with what you see.
3. Neutralize Acid
Create a bucket with baking soda water. I usually saturate mine but it’s not necessarily required, we just want to force the acid to react. Remember to add the baking soda water to the acid and not the other way around.
Do this slowly. Often the reaction can be mildly exothermic and you don’t want things to heat up too much.
When acidic and basic substances react, the result is a movement towards a neutral pH of 7.
You want to reach at least a 5 pH before you go any further. This is usually easy enough: the solution will quit reacting when you add more baking soda when the acid is neutralized. You can also use pH test strips to handle this.
Depending on the acid, the next step may be more or less difficult.
4. Dispose of Waste Responsibly
The acids I listed at the beginning of this article are all safe to dispose of without requiring you to head to the local dump’s HAZMAT area.
There are some pretty handy guidelines to follow.
It basically boils down to what ended up in the acid. Remember the beginning where I insisted that you know what your stones are? That’s now important.
If all you removed was a calcium carbonate compound like calcite or aragonite then you can dump the neutralized acid down the toilet or tub. If you opt for the latter then run cold water with it to prevent any unintended exothermic reactions.
On the other hand, if you have metallic oxides or other salts in the mix you’ll have to visit the local HAZMAT facility. Most places will take it with a minor charge.
Once the acid is disposed of, you’ll be able to manually remove any remaining muck on the stones and enjoy your shiny, newly liberated crystals!
Supplies Needed


- Online rock and mineral club for collectors of all levels!
- Find community with like-minded rock and mineral enthusiasts.
- Monthly Giveaways!
- Free Access to Entire Digital Library of Products (current and future products)*
