How To Clean and Polish Amethyst
Amethyst is beautiful, and often plentiful, making it a favorite for both new and seasoned rockhounds. If you’re pulling your own samples from the earth then you’ll want to clean them, and possibly polish them, properly to display their overwhelming beauty. It’s an easy process, provided that you know what to do!
So, let’s start digging deep and I’ll show you how to clean and polish amethyst.
Related: All About Amethyst
What You Need To Get Started
You’ll only need a few things to go through with cleaning and polishing your crystals. They’re all readily available as well, making this an easier task than most since you don’t need specialized abrasives to do a good job at home.
You’ll want the following:
- Dish Soap- Dawn works and is my preferred brand for cleaning dishes, so it’s what I use.
- Steel or Brass Brush- For scrubbing. Brass is preferred, but steel won’t harm any real quartz crystals.
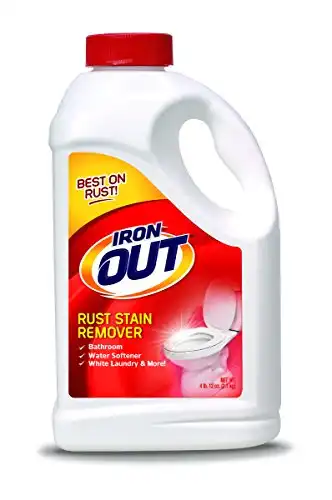
- Iron Out Powder– The powdered form is preferred for this. Other acids can also be used but are much more corrosive and overall dangerous for the person handling them.
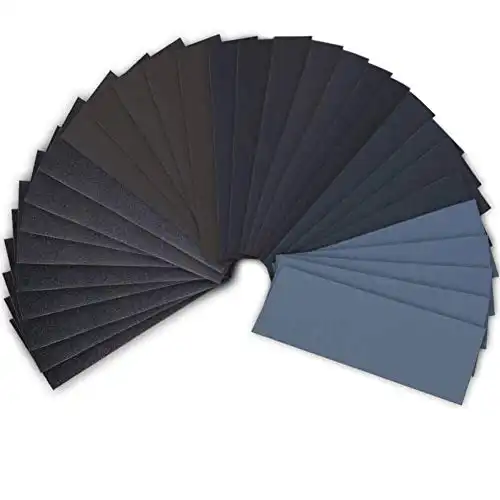
- Sandpaper– You’ll want 400, 800, and 1500 or 2000 grit sheets available for this task. The 1/3rd sheets often sold at hardware stores are great for most sizes.
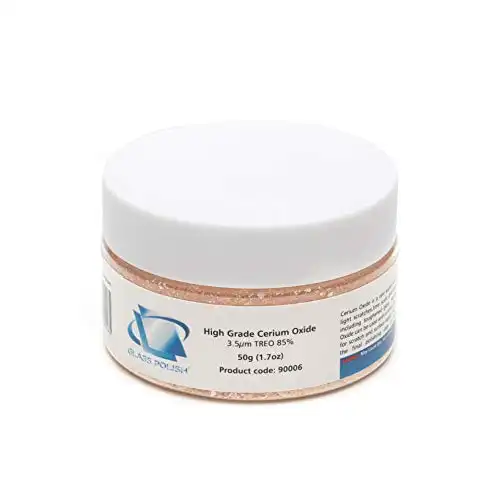
- Cerium Oxide– For the final polish on quartz, there’s nothing quite as awesome as cerium oxide.
- N95 Mask– Never sand your rocks without one. Quartz is particularly nasty as its comprised almost entirely of the worst form of silica for your lungs.
- Old Toothbrush- Not necessarily required but they can be a great boon when removing stains from the crystals.
- (Optional) A Rotary Tool- A Dremel or other rotary with the proper sanding drums will help speed up the process of finishing the crystals. You’ll also need a felt wheel for the final polish.

Once you have everything together, it’s time to start working on your amethyst.
I’ll be discussing polishing the sides and terminations of the crystal as display specimens, not creating cabochons or faceted gems from the rough. Those are both a bit more specialized and require a good understanding of basic lapidary techniques.
1. Clean With Dish Soap
Grab your crystals and line them up, it’s best to work through each one in stages. So we’ll clean all of the samples before moving on.
To begin, scrape off everything you can with your metallic brush. This will generally remove any clay, sediment, or other small bits of hard stuff that are stuck in or around the crystals. You can use water to help out, but I generally go for a dry brushing first.
Afterward, get a bowl of water and add a few drops of dish soap. Attack the surface of the crystals with a sponge or rag in the soapy water, examining them to see if there’s any permanent staining underneath. If you’re having trouble with very tight spaces then you’ll want to
Soap and water really do a number on the dirt and dust that’s on the crystals in many cases, but it doesn’t take care of everything.
Often, even after cleaning, you may find that there are white, yellow, or orange stains still on the crystals. These are generally secondary mineral deposits and you’ll need to chemically remove them.
It’s perfectly fine to leave iron staining on the crystals if you prefer the look as well.
2. Use Super Iron Out for Staining
I prefer to use Super Iron Out for any sort of iron staining in my stones. That’s due to the fact that it’s relatively non-toxic and doesn’t require specialized PPE to work with. A pair of gloves and goggles will do just fine.
Get a bucket and fill it with water. Follow the directions on the bottle to make the solution, the same strength which cleans your tub or toilet works just fine in this case.
Place the crystals in the bucket and put the bucket somewhere it’s unlikely to be tipped over, bumped into, or otherwise spilled. In other words, somewhere with no kids or animals present. Don’t place it in direct sunlight.
The amount of time it takes depends on the local temperature (colder is slower), the strength of the solution, and the exact makeup of your stains. As a general rule I allow them to sit overnight or 12 hours (whichever is longer) before I take a look.
This will take care of most exterior stains, but sometimes you’ll still have staining left in thin cracks and other hard-to-reach parts of the crystal. Wear latex dish gloves and scrub the surface repeatedly with a toothbrush and you should be able to get most of it.
In extreme cases, a stronger acid may be warranted. As a general rule, powdered Iron Out is perfect for this task. Make sure you find an MSDS for whichever chemical you decide to use and use all of the appropriate protective equipment.
When you’re satisfied with the removal of the stains, it’s time to take a closer look at the crystals.
3. Determine Whether or Not to Polish
Not every amethyst needs polishing. In many cases, you can actually lower the value of the specimen in doing so since it alters the natural surface of the crystal.
I generally take them on a case-by-case basis. Any specimen with no obvious flaws will be stored or sold as-is, lower quality specimens or those chipped at the edges of the crystals growth will be polished to make them more attractive.
Clusters and geodes are prohibitively hard to polish as well, since accessing the sides of the crystals can be a pain. It’s generally only a requirement for large, but flawed, singular crystals.
You’ll have to make the call yourself. Some people will tumble or cut just about anything, others feel the flaws and growth striations are part of the natural beauty of the crystal.
For commercial purposes, it’s generally best to err on the side of caution when it comes to polishing. Any mid-grade or above specimen is unlikely to have its cash value improved after polishing.
Related: Ultimate Guide To Lapidary Polishing Compounds
4. Hand Polishing the Crystals
After separating the ones you want to keep natural, grab your lowest grit sandpaper and tape it to a flat surface. This isn’t precision work like faceting, you don’t need to use a glass plate as backing or anything. I’ve done it on old 2x4s more often than anything else.
Take the crystal and polish each facet. You can round them if you’d like, but most of us are trying to preserve the sharper structure of the crystals. In that case, you’ll want to move each face of the crystal by itself, turning to the next one only when it’s finished. Don’t turn the crystal on the sandpaper if you’re not trying to round it, just keep the face in contact with the paper.
Remember to don your N95 or better and to keep the crystals wet during the sanding process. This keeps the occurrence of free crystalline silica in the air to a minimum.
Related: How To Cut and Polish Quartz Crystals
You’ll get the best results with a figure-8 motion, with the crystal held loosely. If it’s large enough, use your palm to stabilize the stone when sanding the points, the idea is to only move the flat surface on the paper without any tilting.
Moving up through grits is personal. For quartz varieties, I use 400, 800, and then 1500 or 2000 depending on which I have more of. Moving slower through the grits, such as 400, 600, 800, 1000, etc. will give better results for most amateurs but takes more time.
Sand until you’re content with the surface’s appearance.
Cerium oxide can be used with a buff cloth or a rotary tool. In either case, you need to make mud from the powder with a small amount of water and then go over the entire surface of the crystal with small, circular motions. Remember to keep things flat if you’re trying to preserve the faces, as even the polishing compound can affect how sharp the crystal faces appear.
Dry out the crystal afterward and examine it to make sure you’re done with the finish. If there are deep scratches you may need to go back to the sandpaper, but in most cases you’ll find that it’s appearance is much shinier and clearer than before the treatment.
- Online rock and mineral club for collectors of all levels!
- Find community with like-minded rock and mineral enthusiasts.
- Monthly Giveaways!
- Free Access to Entire Digital Library of Products (current and future products)*
