Rubies, and other varieties of corundum, are beautiful and valuable but they can be a bear to work with. Knowing how to properly clean and polish your rough rubies can help enhance their display value and bring out some interesting features. You just have to know where to begin in order to make it happen.
So, let’s take a look under the surface and get into the nuts and bolts of how to clean and polish rough rubies!
Related: How to Polish Stones With a Dremel (Step-by-Step Guide)
A Word About Gems
If you’re here looking to create gemstones, I’m afraid you’ll be disappointed.
The cutting and manufacture of faceted gemstones is an extensive, expensive, and time-consuming process before we get into materials as hard (or valuable) as rubies. If you plan to head down that road I strongly recommend that you seek out professional instruction and begin with something a bit cheaper and softer like quartz or lower-grade amethyst.
If you’re looking to cut cabochons, then the same principles apply to the grinding and polishing but you’ll want a dedicated machine for doing it. I’ve cabbed a few pieces of ruby and sapphire with a Dremel and hand tools, it’s generally not worth the time unless you insist on a specific piece of ruby crystal to handle the process.
This isn’t the process you want to go about to prepare gem-grade rough material.
Related: Rubies: Ultimate Guide To Collecting Rubies!
What You Need
Ruby, and sapphire, are harder than every other mineral with the exception of diamonds. Most of the stones we describe cleaning and polishing are easy to handle, but this time we’re going to need to use harder, more specialized abrasives than normal.
You’ll want all of the following:
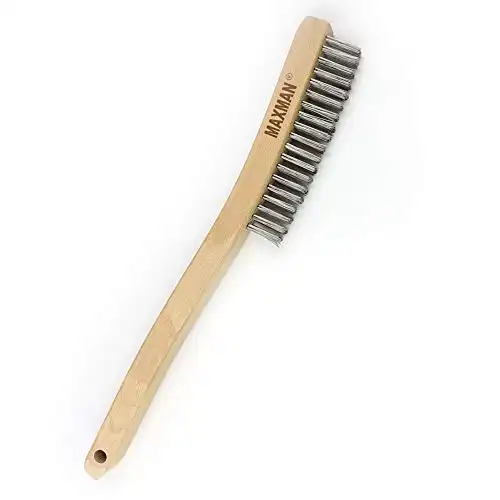
Preferably a smaller steel brush since most corundum crystals are rather small. Brass will do in a pinch but will take more damage when you scrub the piece.
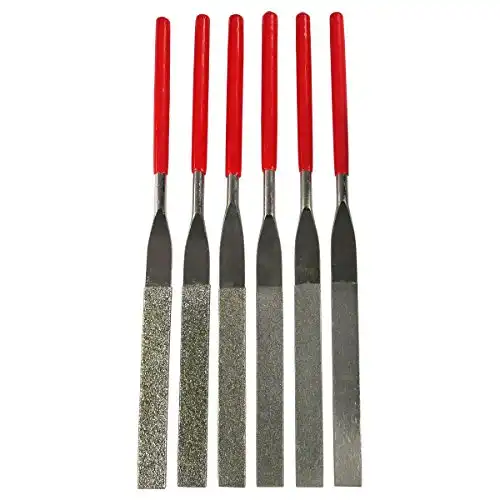
Files like these work, but I hope you have a strong backlog of movies to watch. Grinding wheels for rotaries are much better, and grinding wheels on a bench grinder or cab machine that can be used wet are the best.
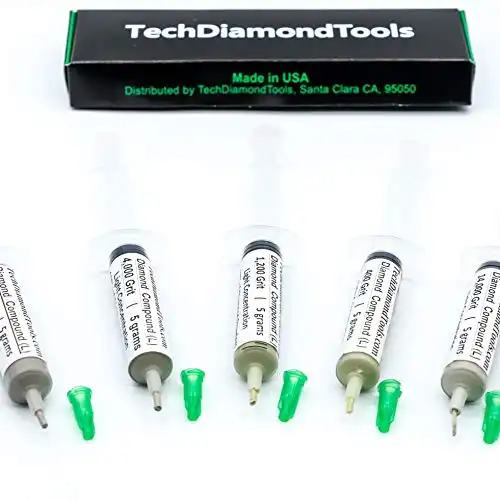
Diamond pastes are used to polish harder stones and crystals. In this case, it’s the only thing that will work. We’ll be switching to these relatively early in the process. 4000 grit is an acceptable top-end for the grade of rubies that you should be working with.

For protecting yourself from dust. We’ll be working wet, but it’s always a good idea to have one of these on when grinding, filing, or polishing stone.
For removing dust in between the different stages of filing.
To hold the water you’ll be using to lower friction and keep particles trapped in the mud while working on the stones.
With these together you’re ready to begin.
How to Clean and Polish Rough Uncut Ruby
1. Soak and Scrub the Rough Ruby
I generally use hot water and a squirt of dish detergent in a cup or small bowl to begin with. You don’t want to make a habit of putting rock particles down the drain, so it should be big enough to work over.
Place the rubies in your container and cover them in hot water, coming up at least ½” above the top of the highest points. Allow them to soak for 3-5 minutes to loosen up any dirt or debris.
Next, use your scrub brush to get at them.
Many people will advise you to be delicate with ruby. I’m not, you’re not going to do any damage to a small piece of ruby with a wire brush. Scrub at any spots you see with the brush until they’re gone.
If there are small holes in the stone you may need to use a sewing needle or dental pick to get in and work out the mud. Do these last, then scrub the stones again with the brush.
Dry them with paper towels and let them sit for a moment while you prepare the next step.
2. Rough Shaping Your Ruby
You’ll now want to take a good look at the crystals and decide how you want to shape them. Polishing requires a continuous surface to give that wet, shiny look that we’re going for. This surface can be curved or straight, but you can’t have ridges or variations of height going up and down to get a good surface.
Get your bowl or bucket and your files and find a comfortable position to sit in. This is going to take some time.
Starting with your roughest file, bring down any ridges or hills on the stone to the surface you plan to polish. Ruby takes serious time to work by hand.
If you have a Dremel you can do the same, but it will be much faster. Bench grinders or lapidary machines may require you to use a dop stick depending on the size of your crystal, but they do work the most quickly.
Continuously dip the stone in the water while you’re working on it. You need the surface wet to prevent particles from escaping into the air, and it helps to keep the heat down. With power tools, this is essential, since the rapid friction will heat them up very quickly.
This is one place to be careful: if the ruby gets too hot to hold then set it down on another surface and let it cool. Thermal shock can turn that tough little mass of corundum into a bunch of tiny shards in no time if you dip it in cold water after a certain point.
If you have files you can work to higher grits, preferably around 400.
Diamond files can get clogged, so it’s good practice to have something to tap the file on a few times per minute. I usually set a rag across my left knee as I often work in my lap. Just tap the file harshly against the rag a few times on alternating sides, then wipe it lightly to remove as much of the ground-up corundum as possible.
Once you have the shape and surfaces you’d like, you can move on to the actual polishing.
3. Polishing the Rubies
You don’t require a rotary tool for this final step, but it will make your life a lot easier. If you have one you’ll want to grab one of the normal felt polishing tips or wheels, preferably a fresh one or one that has only been used with diamond paste before.
If you don’t have one then a rougher cloth, piece of leather, or other material which isn’t too absorbent should be used.
Take the lowest grade of your diamond paste and place a small amount on either your rag or the felt tip depending on what you have.
With a Dremel you’ll simply spool up the tool and move it in small circles over the surface of the stone. Keep going until you don’t see any deep scratches remaining, but be careful about heat. Smaller pieces can heat up rapidly and you’ll need to let them cool off before you continue.
With cloth, you’re in for a longer, harder job. You can still end up with a great result. Simply place a small amount of the paste on the rag and then begin rubbing it over the surface of the ruby. If you have very small rubies you may want to spread the cloth out and rub the stone on the area with polish instead.
Keep working until there are no scratches and then go up in grit after wiping the stone down with an eyeglass cloth to remove any remaining grit. Go up only one stage each time, and don’t ignore any scratches or you’ll have to go back later to fix them.
Once you’re finished, wipe the stones down and admire the beauty.
It’ll take some time, but the end result? Excellent, polished specimens shaped to your specifications!
- Online rock and mineral club for collectors of all levels!
- Find community with like-minded rock and mineral enthusiasts.
- Monthly Giveaways!
- Free Access to Entire Digital Library of Products (annual memberships)
