Access the Ad-Free Version of this article at the Rock Seeker Club
Quartz crystals are among the most common, and coolest, finds out there. But they’re not always the prettiest thing in the world when you first pull them out of the ground. Whether it’s due to dirt, iron-staining, or anything else they often need some cleaning to be ready for display.
Let’s dig into the heart of the matter and I’ll teach you how to clean quartz crystals, step-by-step.
Read More: How To Cut and Polish Quartz Crystals (Step-By-Step Guide)
How To Clean Quartz Crystals
What You Need
You’ll need a few things to do this, but none are exceptionally expensive.
Just make sure you have the following on hand:
- Quartz Crystals- Any size or form can be easily cleaned using this method. (Read my guide on how to find quartz crystals)
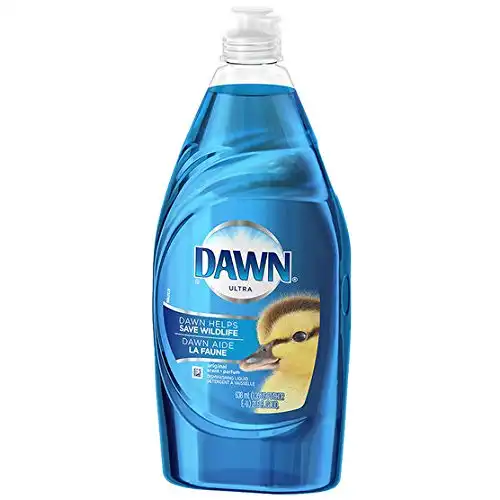
- Dish Soap- Dawn is the old standby, but any detergent will work.
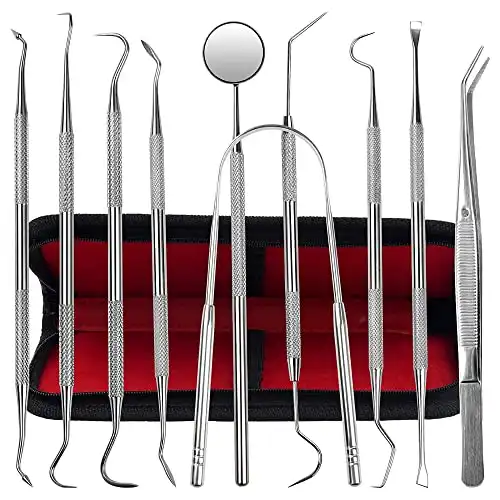
- Dental Picks– Any set will do, you just need to be able to get in crevices.
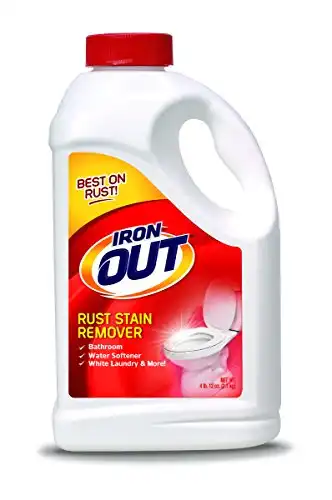
- Iron Out– The powder form is much better than the liquid, but either should work.
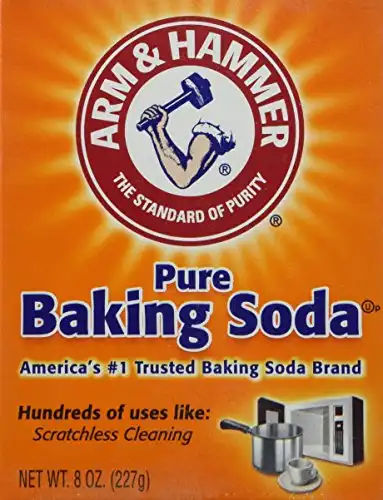
- Baking Soda- Any brand will do.
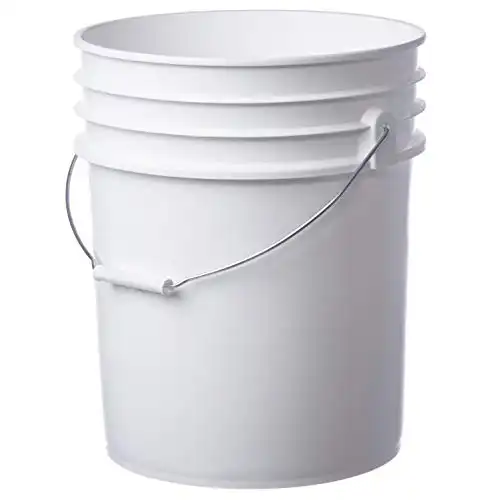
- Plastic Bucket- For the oxalic acid mixture we’ll be using later on.
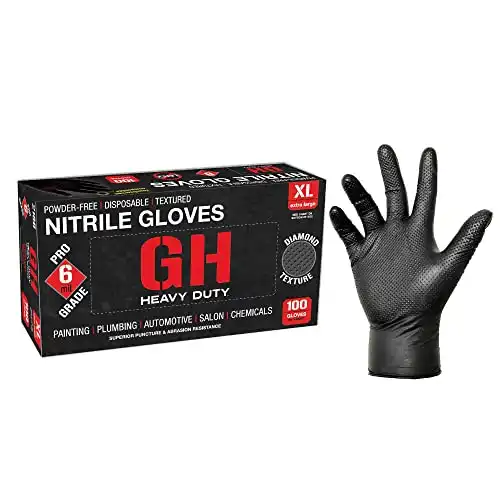
- Nitrile Gloves- To protect your hands from the Iron Out.
- Respirator (Optional)- Required if you’re working indoors, but you can skip it if you’re careful and working outside.
The above items can easily be found online or at most big box stores.
1. Give Them a Wash
The first step is simply to wash off all of the crystals that you’re planning to clean. Water sometimes works for very light dustings of material such as sand or dust, but the majority of good quartz points come out of clay.
Dish soap is ideal for cleaning since it’s non-toxic and readily available. Just wash it like you would anything else, with a rag or sponge and a bowl or bucket full of water.
You can wash them directly in the sink as well, but don’t make a habit of it. The last thing you want to do is clog a pipe with clay or sand, neither of which can be removed by normal drain cleaning methods.
I prefer a rag for most crystals, especially smaller ones. If you use your fingertips you can really get in there, your fingernails can get into some surprisingly tight spots if you’re careful.
After you’ve washed the crystals dry them with a different rag. You want a clear look at the crystals in the end, without calcium stains from tap water forming on the surface to be removed later.
If you do have hard water and forget then a quick dip in white vinegar will remove any hard water spots that have turned up on the crystal.
2. Spot Clean Crevices
Take your dental picks and use them to begin clearing out any trapped dirt, sand, or clay. You may even need to break out a couple of pebbles in larger specimens, depending on the region that you found them.
A dental pick won’t scratch your quartz, but it can break small pieces if you twist at the wrong angle. This is especially true if the crevice is undercut. Don’t twist your pick, find a way to scrape by moving it along only one axis.
If you run into anything too stubborn then apply a drop of dish soap and get the pick in there. The soap will act as lubrication and let you scoop out the matter more easily.
If there are small particles still stuck inside then you may have to get a bit creative. I’ll sometimes wrap the tip of a pick with a scrap of napkin or paper towel to wipe out the interior areas. It’s much safe for the crystal than trying to repeatedly twist the pick to get every speck of material out.
3. Dry and Examine the Results
Dry the crystals with a paper towel or dish rag and let them completely dry out.
You’ll now be able to examine the results of your work. In some cases, this will be all that’s needed and you’ll now be done with the crystal.
In other cases, we’ll need to move forward using chemical cleaning. The most common reason is just a layer of ferrous oxide on the exterior of the crystals. This manifests as an orange tint that other cleaning solutions won’t touch.
If the staining is very light then vinegar may be all that’s needed. In most cases, a stronger acid will be required. If the crystals are clean, clear, and don’t have a rust tinge then you can simply dip them in vinegar to get rid of any hard water spots which remain and call it good.
3. Use Iron Out for Iron Removal
Iron Out is fairly benign but we should still take some precautions. Gloves are a good idea, with nitrile being my preferred material for disposables.
The mixture varies a bit from person to person. I’m a big fan of using stronger mixtures for shorter periods, but others prefer to make things a little bit weaker and let the crystals sit for a few days. It just depends on the person and their patience.
Mixing the acid should be done carefully in an HDPE bucket. Any plastic should work, but metal should not be used in any case. Always add acid to the water, not vice versa. The rapid heating caused by pouring water into acid can cause serious dangers.
You can technically perform this step with a wide variety of acids. In the past, I’ve used muriatic acid with great effects.
The reason I recommend Iron Out is simple: safety. While not harmless, Iron Out is much safer to use than stronger acids and has a long history of use for cleaning stones.
Fill the bucket with your crystals and reasonably warm water and then drop in about ⅓ cup of Iron Out per gallon of water volume. This will give a reasonably strong solution. This is best done using distilled water or RO water if you have access. Very hard water may react a bit and require a slightly stronger solution.
You’ll now want to wait anywhere from 1-12 hours. I’ve found the solution becomes too weak to do much after 24 hours but some people swear by 1-2 days. It’s hard to give exact instructions since everything from local temperature to water hardness can effect the process.
When you think you’re done put on your gloves and pull out a crystal or two. Dry them with a rag and see if any iron stains remain, if they do then you should return them to the bucket. If a couple of days have already passed you may need to mix another solution and do it again.
Don’t just pull the crystals out of the Iron Out solution. You’ll need to do a bit more first.
4. Neutralize and Dry
Prepare a bowl or bucket big enough to hold your crystals with a baking soda solution. 2 tablespoons per gallon should work in most cases.
Place the crystals into this solution for 10-15 minutes. Remove them and dry them off carefully, including into any crevices or cracks you may find. The baking soda solution can leave white stains on the crystals, but they’re easily removed with a drip in warm distilled water or white vinegar.
If any orange tint remains you may be able to remove it with a very weak acid like vinegar, but serious stains may require another round of Iron Out.
Once you’re satisfied with how the crystals look, you’re almost done!
Iron Out can be disposed of in the toilet since it’s plumbing safe and shouldn’t have absorbed any toxic salts from the process used, provided that you’re working with quartz varieties and not stones that may contain more reactive metals like copper.
And then all you have to do is sit back and enjoy the sparkling results of your hard work!
- Online rock and mineral club for collectors of all levels!
- Find community with like-minded rock and mineral enthusiasts.
- Monthly Giveaways!
- Free Access to Entire Digital Library of Products (current and future products)*
