How To Make Artifacts, Rocks and Minerals Float In a Shadow Box
I recently decided to clean up and organize a large part of my collection. Like most projects I tackle, I had to break it down into smaller parts in order not to get burnt out!
So I decided to start with some of the artifacts I’ve found over the years. I love hunting for arrowheads and thought I’d start there.
There’s one artifact that I have and for the longest time I’ve wanted to display it in a shadow box. But not just any shadow box. I wanted to make this artifact look as if it was “floating”.
We’ve all seen the display cases where the artifact is pressed between a foam back and the glass of the box. Those are nice, but not the look I was going for.
So I wanted to share with you what I ended up putting together and how I did it. Just in case you’re looking for inspiration to do something similar.
But first…
The Story Behind This Artifact
Not too long ago I spent a few weeks in Baja Mexico near the town of El Centenario. It’s way down there really close to La Paz near the bottom of the Baja Peninsula.
I know I’ve mentioned it before, but my daughter is really into rockhounding and artifact hunting. She’s got eagle eyes when it comes to looking for these kinds of things. It’s pretty awesome to be honest.
We heard from a few people who live in the area that they’ve found quite a few artifacts near by; mostly scrapers and other cutting tools.
So naturally, we wanted to go out to the desert and take a look for ourselves. So we hopped on the quads and took off to the desert.
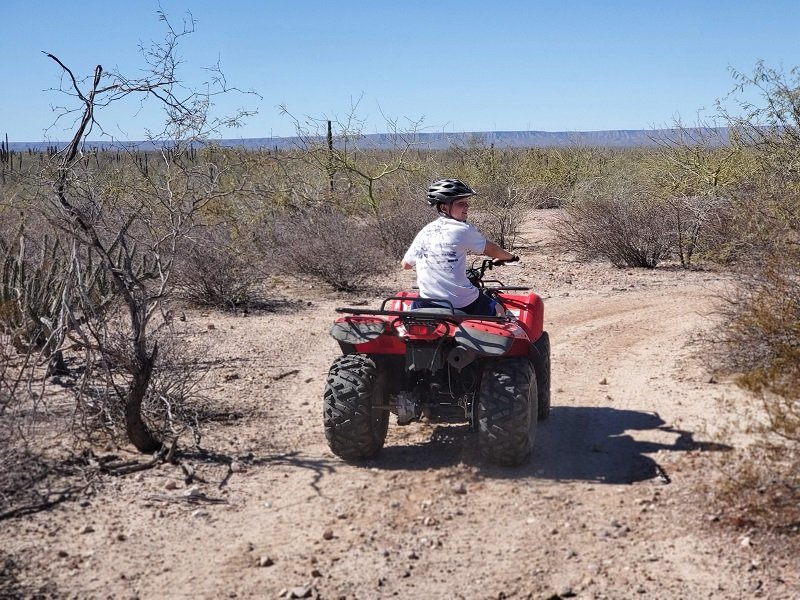
It didn’t take long to find good hunting grounds. Not 20 minutes into scanning the desert floor, we began to find evidence of ancient tool making; lots of flint and a couple of blanks that had been worked on one side.
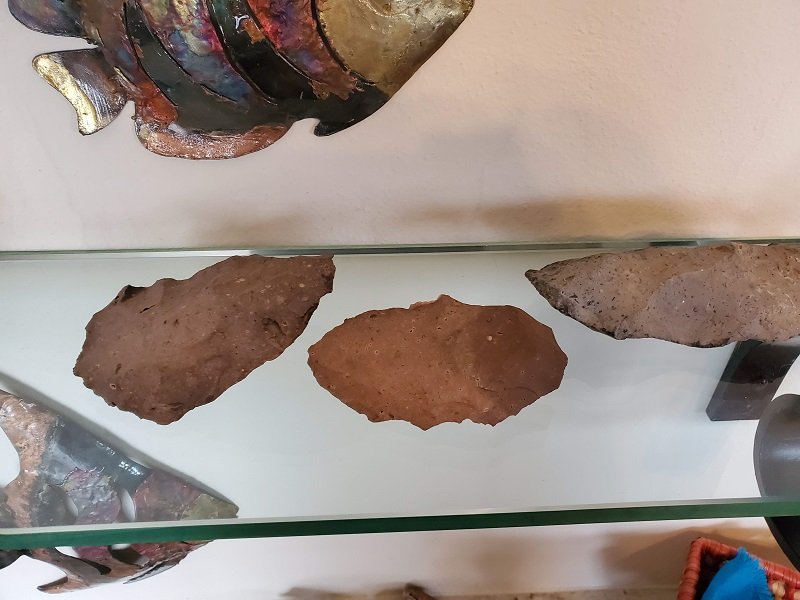
I walked down a small ravine which looked like a promising spot. Underneath a shrub on the ledge of the ravine I saw the tip of what looked like a stone that had been worked by hand. I pulled up on the rock and out came the scraper you see in the middle in the image below.
How To Make Items Float In a Shadow Box
I know that there’s multiple ways to make it look as if your artifact or rock specimen is floating, and I’m not claiming that this is the best or only way to do it.
What I do know is that this method has worked great for me, the artifact has not come loose or fallen and I’ve received a lot of compliments on it!
Most Importantly
When I was deciding how to create the “floating” effect, I knew I’d have to attach the artifact to a base or structure in the shadow box.
But I needed to figure out a way to attach it that wouldn’t permanently damage or stain the artifact.
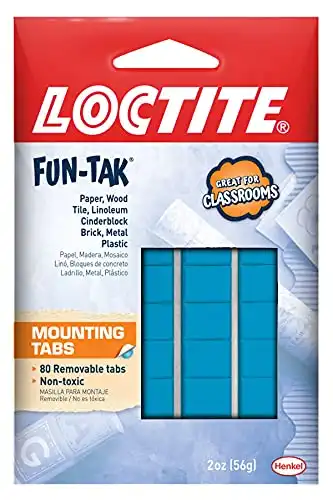
So, for this project, I decided to use Loctite Fun-Tak Putty to do the attaching. I did a little research online and found that museums use it and it does not cause damage.
I can confirm this, because 3 months after using this putty, I removed the artifact to take pictures for this article and there was absolutely no residue or staining on the artifact.
Materials Used For This Project
Step 1: The Box
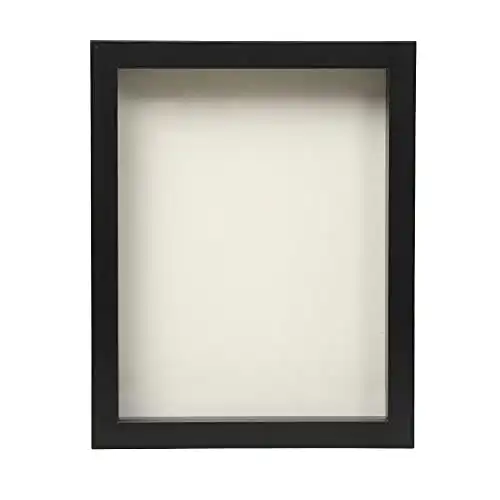
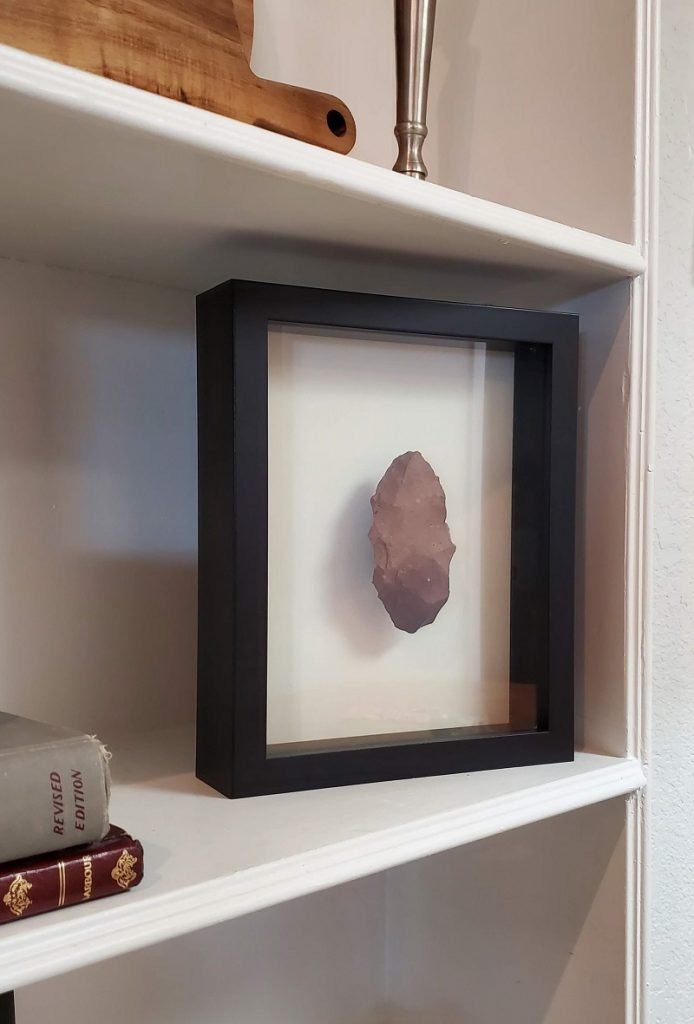
The first thing is to decide which shadow box to use. This mostly depends on the size of the artifact or rock specimen that you want to showcase. In my case, I decided on this 8×10 black wooden shadow box pictured below.
I chose this shadow box because it is 1.5 inches deep, which provides enough room for the artifact to “float” between the back of the box and the glass.
Step 2: The Mounting Screws
In order to make it look like something is floating in the shadow box, I needed to create a base behind the artifact that:
- couldn’t easily be seen, and
- is strong enough to hold the artifact
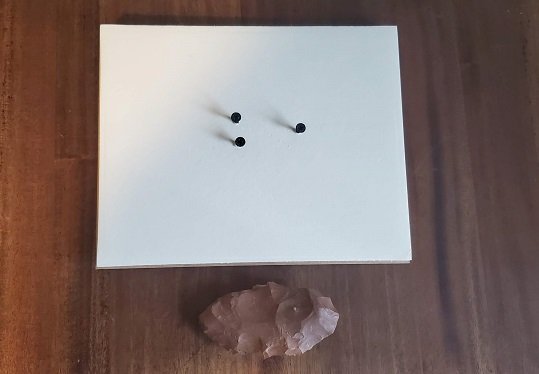
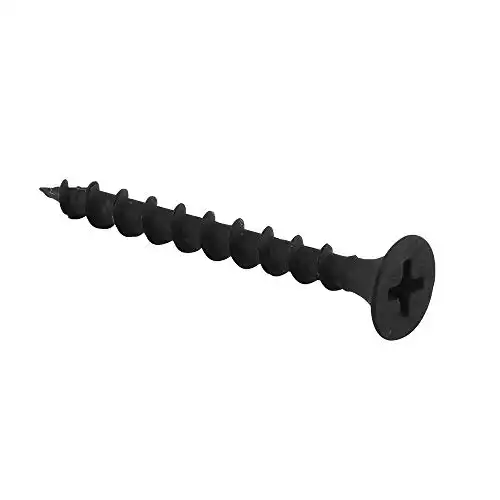
I decided to use some black drywall screws that I happened to have laying around. The only problem I ran into was the length of these screws. The ones I used are 1.25 inches long which are a bit too long.
In hind sight, I would have used either 1inch or 3/4 inch screws, like these pictured below.
The placement of the screws is going to be 100% dependent on the artifact or rock/mineral that you’re displaying.
For me, because of the odd size and heavy weight of the artifact, I decided to use 3 mounting screws. In hind sight, I probably could have gotten away with using only 2. Better safe than sorry though!
Looking at many of the other artifacts that are in my collection, I would only use one mounting screw for the majority of them.
Step 3: Mounting The Display Piece
To mount the artifact to the screws, I used Loctite Fun-Tak Putty. As I mentioned earlier, it was important to me to use a material that wouldn’t damage the artifact, like glue or other adhesives would most certainly do.
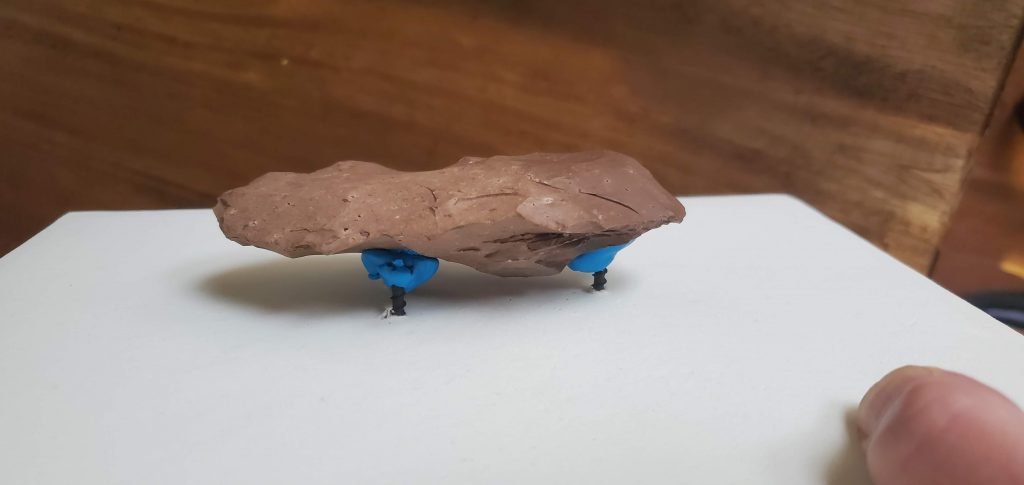
I simply tore off a very small amount and molded it securely around the head of the screw, making sure there was plenty of putty for the artifact to adhere to.
Then I placed the artifact in position on top of the screws and the putty and firmly pressed the putty onto the artifact.
Step 4: Putting It All Together
Now it’s time to simply put the shadow box back together. Take care not to shake or rattle the artifact too much. The putty does a great job of holding it in static situations. I can’t speak to the fact of how well it holds when being bounced around. I’m sure it doesn’t take too much too dislodge it.
The Final Product
Floating Shadow Box Supplies
-
Check Current Price
We earn a commission if you click this link and make a purchase at no additional cost to you.
-
 Check Current Price
We earn a commission if you click this link and make a purchase at no additional cost to you.
-
Check Current Price
We earn a commission if you click this link and make a purchase at no additional cost to you.
- Online rock and mineral club for collectors of all levels!
- Find community with like-minded rock and mineral enthusiasts.
- Monthly Giveaways!
- Free Access to Entire Digital Library of Products (current and future products)*
