Polishing stones is one of the best ways to create a display piece out of your specimens. Most of us use a rock tumbler, others go ahead with a Dremel, but what if you want to polish a larger piece of stone?
Good news! We’re going to break down how to polish large rocks step-by-step so that you can turn that great mineral specimen into an amazing display piece.
What Size Are We Talking About?
Polishing true boulders can be done, but it’s a laborious task. It’s very rarely done, but the basis for any stone larger than your head is going to involve an angle grinder. I’ll briefly discuss how to approach these boulders later, but each of those is a unique challenge.
For the purposes of this article, we’re going to be talking about rocks 6” to 14”. Think fist-to head-sized rather than landscaping boulders.
1. Gather Your Materials and Tools
You’re going to need some tools to handle this task, or you need to be willing to spend countless hours with sandpaper. I recommend going with the tools, the sandpaper method doesn’t allow rough shaping and takes even longer than you’d think.
Fortunately, we can pull this off without any lapidary-specific equipment. You may even have the tools you need already.
You’ll want the following available to you:
- Angle Grinder
- (Optional) Large Bench Grinder
- Diamond Masonry Grinding Wheel in Coarse and Fine Grits
- Polishing Wheel
- Sandpaper (800-3000 is fine in most cases)
- Cerium Oxide or Other Polish
- Outdoor Area or Well-ventilated Space
- (Optional) Large Vise
If you can fit your rock in a vise, you’ll be much better off. In many cases, you may need to hold the rock in place and you want both hands to safely operate the angle grinder.
If you don’t have a vise, you should find a way to secure your stone. Smaller stones can be glued to scrap wood with superglue to hold them, then you’ll break the glue by twisting the stone and flipping it over to finish the bit that was down in the first place.
But, there’s a bit more you need:
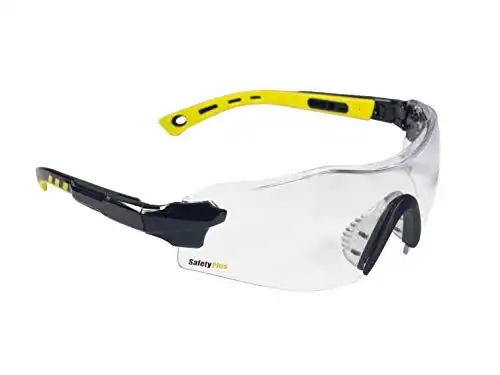
- Safety Glasses or Face Shield
- Respirator
- Leather or Ballistic Gloves
- Ear Protection
- Good Boots
An apron is also useful, but only if it’s made of a heavier material. Not everyone has a leather apron just lying around, but I recommend a tough jacket at the very least.
Safety googles/face shield are not optional. I tend to play fast and loose with safety in the real world, but you will have debris hitting your face during this operation. A tiny shard of rock can result in either a scratch on your glasses or a lost eye, move in favor of safety.
Likewise, use a respirator even if you’re outdoors. You’re going to be kicking up huge plumes of silica dust from the majority of stones, and that dust is dangerous. Trust me, I hate the masks as much as anyone but silicosis isn’t something I’m willing to risk. If you’re not familiar with the disorder and work with stone, you need to be acquainted.
Related: Guide to Best Lapidary Equipment for Beginners
2. Set Up the Work Area
You need a bench or table to affix the stone to. I don’t recommend kneeling and working on the stone, this needs to be a comfortable operation. Ideally you’ll be able to approach the stone from all sides, setting up in the middle of your yard is your best bet.
You should also set up a way to keep the stone wet while working. This can be a bit problematic depending on where you’re located, but the simplest way is to use a hose clamp to hold down your garden hose and let it flow lightly over the stone.
Make sure the area is free of obstructions. Angle grinders are a bit more dangerous than most power tools and stumbling while you’re moving around the stone can cause serious injury.
For a very large stone, you just need to make sure you have room to move and a place for the hose.
I don’t recommend dry-cutting stones to polish them. It’s hard on your wheels, hard on the stone, and spreads toxic clouds of dust everywhere. I don’t recommend dry cutting with any tool, but angle grinders are a step further along. A quick grinding operation can limit your visibility as well as throw huge plumes of dust.
If it’s wet, you just have a ton of mud.
Just find a way to wet the stone. It doesn’t have to be perfect, just enough that you can slow down for a second to let things get wet again.
3. Rough Shaping the Stone
Some people try to preserve the natural shape of their stone. If that’s the case here, then you can move on to the next step as long as there are no major fractures in the surface. Those will become a serious problem when the wheel hits.
Secure your stone and get your PPE ready. Then use the roughest diamond disc you have to get the stone into the shape you want it.
There’s going to be a mess, be prepared for it. If you have a good water trickle then you’re mostly going to get long streaks of mud thrown off the stone.
While rough shaping the stone’s exterior, you should back off whenever the mud turns to dust. Angle grinders will out-compete most water trickle systems, at least those safe enough to use. It only takes a second or two for the stone to be wetted down again, so work in short spurts.
Be careful around fractures, as they may unexpectedly “liberate” material. That’s part of what your PPE is for, so keep your protective equipment on.
When you’re satisfied with the state of the stone’s shape, you can switch to the finer wheel. Make sure to get all sides of the stone by turning it in your vise or re-gluing it.
Protip: For display specimens, you can use the grinder to create a flat spot for the stone to sit on. This simplifies the rest of the work since the flat spot can be touched up quickly once the bulk of the work is done.
4. Smoothing the Stone
Once the stone is shaped you’ll switch to the finer wheel on your angle grinder.
Take your time and use it to smooth out any rough bits on the exterior of the stone. You want the entire surface to look uniform, but most angle grinder grinding bits are going to leave scratches. We’ll handle these farther along the line.
The important thing is that those scratches are uniform across the surface of the stone. This allows us to polish in the next step, but the rougher wheels tend to leave scratches you can’t polish out easily.
5. Power Polishing
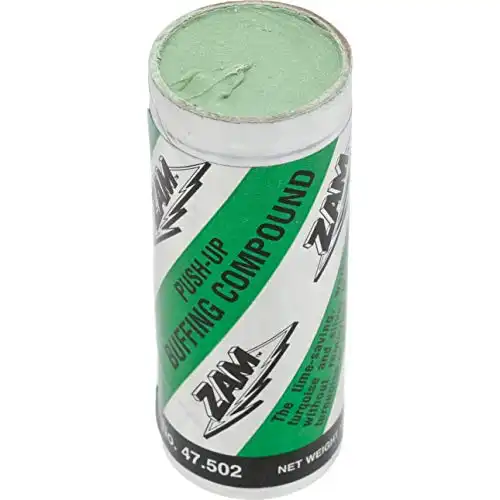
Switch to your polishing disc and apply whichever compound you prefer. I use cerium oxide for hard stones(ie: jasper, agate, nephrite) and a polish called Zam for softer stones(ie: common opal, turquoise).
This is destined to be a slow process, and you need to watch the heat generated. An angle grinder with a felt wheel can still generate enough heat to crack fragile stones, which is another reason it’s so important to have water flowing.
The stone will gradually become shinier and shinier.
This final bit is tricky, and it takes a lot of experience to get the “wet” look that most people favor with their polish. You may have to resort to using high-grit sandpaper in some areas to smooth it enough to polish.
Many times you can finish this process without needing to move further along. It depends on your personal tastes and what you’re looking for. If you’re happy… you’re done!
That said, you can take things one step further for a better finish.
6. Sanding and Polishing By Hand (Optional)
This step takes a lot of experience, but the angle grinder may not have done a perfect job getting all of the scratches out.
This is where you come in: take sandpaper and eliminate scratches across the surface. 400 grit is a good starting point most of the time, but 600-800 is also acceptable. Move through the grits in areas that aren’t polished to your liking.
2500 grit as a top-end is fine, I prefer to move to 3000 when I’m really looking for shine.
Afterward, you can use a Dremel with felt or a cloth “charged” with polish for the final step.
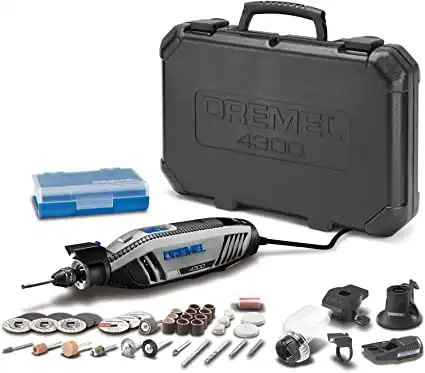
Premium rotary tool kit - Includes the 4300 Dremel rotary tool, 5 attachments, 40 high-quality Dremel accessories and plastic storage case.
Variable speed motor - 5,000 – 35,000 RPM with electronic feedback for consistent performance & accurate tool control
Pivot light - Rotates to illuminate your projects even in difficult to reach spaces
Replaceable brushes – Motor brushes can be replaced to extend tool life
Polishing large rocks takes time, experience, tools, and skill. That said, most people who are serious about the task will catch on quickly.
All that remains is fitting on your PPE and giving it a shot in your own backyard!
Read More: How To Polish Rocks With Sandpaper? (Step-by-Step Guide)
- Online rock and mineral club for collectors of all levels!
- Find community with like-minded rock and mineral enthusiasts.
- Monthly Giveaways!
- Free Access to Entire Digital Library of Products (annual memberships)
