How To Polish Petrified Wood Without a Tumbler
Polishing stones with a tumbler is common, but not everyone wants to listen to the barrel run for weeks at a time. Or you may just want to do things a little bit faster. Fortunately, there are a lot of ways to polish petrified wood without a tumbler as long as you’re willing to put in some effort.
So, without further ado, let’s take a look at how to polish petrified wood for your collection.
What You Need
The lapidary game always consists of the same basic few steps. We need to cut, grind, sand, and then polish the material that we’re working with. Only the last three are really required, and sometimes the steps bleed into each other a bit.
We’ll forgo talking about doing this by hand or with a Dremel. Instead, we’re going to focus on how to face a larger specimen while retaining the limb cast or other exterior.
You’ll need the following:
- Tile Saw or Trim Saw- These need to operate wet, and you’ll also need to make sure that the blade can pass through the piece of petrified wood without any sizing issues. This usually works out to be about half of the blade’s size, less ~10% depending on the setup.
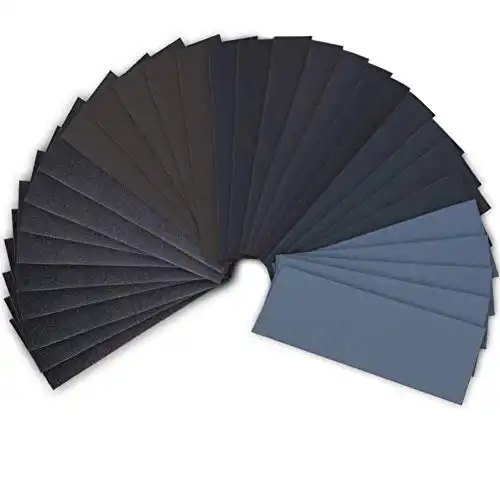
- Sandpaper- If the piece has more than ~4in² then you may want to use a power sander. Grits should start at 150 and run to 2500 or more.
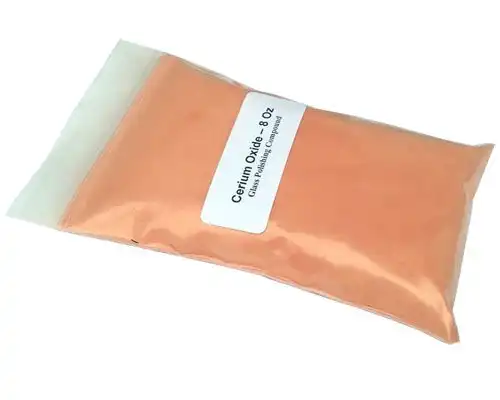
- Cerium Oxide- Ideal polish for hard, heavily silicified stones like petrified wood. If your sample is opalized instead of silicified you can also use something specialized for softer stones like Zam.
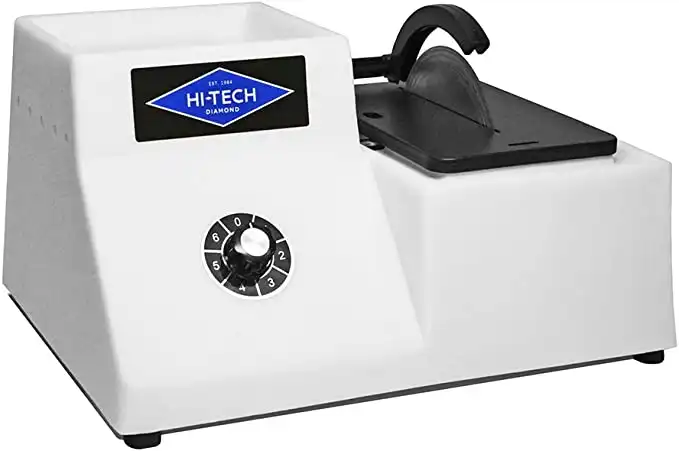
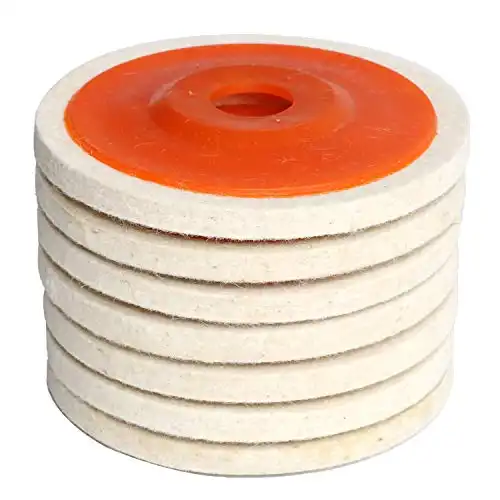
- Grinder With Felt or Cloth Wheel- Make sure the tool is balanced and running smoothly before you take the stone to it. A Dremel will work if you don’t have access to a modified bench grinder.
- Water Bucket- For dipping the stone during grinding and sanding operations. You can also rig a drip system if you prefer.
And that should just about cover it.
You’ll also need the normal PPE for any kind of lapidary work:
- N95 or Better Mask- Respirators preferred, N95 masks will also work if you’re working in a well-ventilated area. Don’t play around with the possibility of silicosis, it’s a terrible way to go.
- Safety Glasses- For normal reasons. Petrified wood can have a lot of internal fractures not visible from the outside as well, resulting in high-speed chunks of flying material at unexpected times. Just wear them.


Gather all of your things together in a nice spot with good ventilation. If you’ve got a way to fix your polishing option to a bench outdoors, then that’s actually the best way to do things.
Step-By-Step Guide
1. Slice Your Specimen
You can use any water-lubricated saw with a diamond blade to cut petrified wood. I recommend something specialized, even if you’re using a cheap saw, due to the hardness of the stone. Silicified petrified wood is among the hardest things I’ve found to cut, and I’ve assembled hundreds of cabochons of agate and jasper.
This means a slow cut is essential.
First, you’ll need to determine which angle you want to cut the piece at. With limb casts, people often make rounds. For personal display specimens, I’ll take an oblique slice along the cast for a wider internal view. This is all just a matter of personal preference.
You’ll want to let the saw do the cutting as much as possible. Better cuts lead to less work farther down the road. You can make multiple cuts easily if you want a different shape.
If you’re looking to polish a rougher chunk then you may just want to slice/grind off any protrusions from the areas you’re looking to polish.
Do as much work with the saw as you can. Petrified wood is a horrible material to work by hand, even a 1/64” modification on a surface can take a lot of time with anything other than a lapidary grinder.
If you have a safe option to use a grinding wheel in the 80 to 200 range to finish the cut it’s a good idea to do so. That said, a safe and effective conversion of a regular bench grinder is beyond the scope of this article and you don’t want to just stick your petrified wood against a dry grinding wheel.
2. Sand in Stages
For smaller stones, hand sanding will be fine. For larger limb casts, I’d consider the use of some kind of wet/dry power sanding. Make sure that any sander you run can be used wet, otherwise a cutting board or piece of glass will work fine to back your sanding paper.
Start with the lowest grit you have, but I wouldn’t bother under 120. Dip the stone into water repeatedly as you sand, you want to catch it before dry dust starts to spread. You’ll see the mud on the surface of the stone get more and more opaque, I try to dip whenever I see it starting to get a bit thick.
After sanding with your lowest grit, you’ll now move successively through to higher grits. Like agate, petrified wood is not a forgiving material when it comes to scratches from previous grits. Dry the material, wipe off dust with a microfiber cloth, and check for any deep scratches or gouges between each grit.
Move slowly through the grits. Softer stones, like calcite, can often skip grits but I don’t recommend it. Don’t be afraid to go back in grits if you have to. I always give my petrified wood an extra 30 seconds to 1 minute on each grit past where I’m sure I have it. You won’t lose any material doing this and it helps keep things clean.
Continue working through grits at your own pace. Preferably, you’ll be able to get to at least 2000 grit with what you have on hand. I prefer to aim for 3000 grit in my own shop, but the difference is negligible by the end of the process, it just makes polishing a bit faster.
3. Perform Your Final Polish
Your petrified wood should now have a “wet” look to it, even when dried. Make sure you’re happy with the final results of the sanding process, any scratches will still be in the piece after you’re done polishing.
Now, you’ll want to mix a small amount of water and some cerium oxide powder in a container. You just want the material to act as a thick paste, so don’t overdo it. I’ll often use a bottle cap and just stir it with a toothpick to get the right consistency.
You can now charge your wheel with the paste by applying it to the spinning wheel. This works the same with rotary tools.
You can also put the paste directly on the stone and then go after it with your wheel or bob. This works well in some cases, but it’s not aways the best route.
Felt is ideal for using cerium oxide, but cloth wheels will also work if you’re going down that route.
Go Slow
Polish slowly enough to be mindful of the heat that’s being generated. At no point should the surface of the stone become hot enough to be painful to the touch. This isn’t necessarily going to break petrified wood but it’s definitely a part of best practices. Stones like opal will readily shatter when heated too much by a wheel.
No Tools? No Problem
If you don’t have any power tools at all you can use a polishing cloth or piece of chamois to rub the polish in. Make small circles while applying pressure and continue across the surface of the stone repeatedly until you’re happy with the finish.
Once you’re done polishing, the only thing that remains is to find a great spot for your newly polished petrified wood!
- Online rock and mineral club for collectors of all levels!
- Find community with like-minded rock and mineral enthusiasts.
- Monthly Giveaways!
- Free Access to Entire Digital Library of Products (annual memberships)
