Rock Tumbling Tiger’s Eye
Tigers eye is a beautiful, unique type of quartz that is an excellent candidate to run through your rock tumbler. It’s a hard stone that takes on an incredible polish, often times without the need to burnish.
So, if tumbling tigers eye is something you’ve got your eye on, keep on reading. Here’s everything you need to know about polishing this unique stone with a rotary rock tumbler.
No Tumbler? No problem: How To Clean and Polish Tiger Eye Stone Without a Tumbler
What Is Tiger Eye?
Tiger’s eye is a type of chalcedony, which is a cryptocrystalline silica. It is composed of fine moganite and quartz intergrowths, and it gets it’s name from how light interacts with it. When moved in the light just so, the stone produces a line of light that moves across its surface, much like that of an eye of a tiger. When polished, this effect is very pronounced and sought after by collectors all around the world.
Choose The Right Size of Stones
Tiger eye can be polished to a very high luster just like many other crystalline varieties of quartz. The problem is that many lapidaries end up tumbling pieces of tigers eye that’s just a little too big. You really don’t want to tumble pieces any larger than 1inch or so. You can definitely tumble larger pieces of tigers eye than that, but you run the risk of encountering the issue of bruising.
What Is Rock Tumbler Bruising?
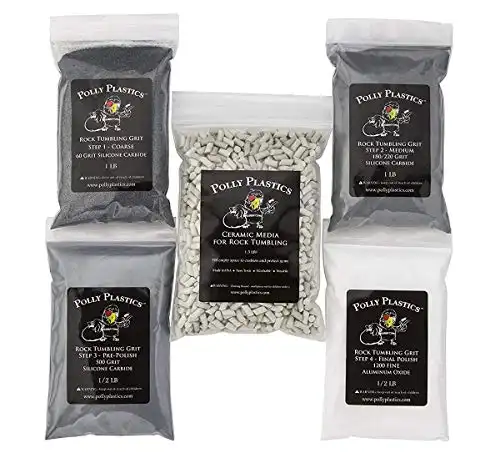
Bruising is what happens when quartz impacts with other quartz specimens inside the rock tumbling barrel. Small fractures at the point of impact can occur. These areas of fracture are called bruising. It happens in rock tumbling as well as in nature, such as rivers, streams and the ocean. To help eliminate the chance of bruising you simply add ceramic tumbling media to the barrel. This smooths out the tumbling action and softens the constant impact of rock on rock by absorbing much of the impact.
Tigers Eye Rotary Rock Tumbling Recipe
| STAGE | TBS/LB | WATER | TIME |
|---|---|---|---|
| 1. Rough | 2 | Cover tops of rocks | 2-4 Weeks |
| 2. Medium | 2 | Just under tops of rocks | 1 Week |
| 3. Fine | 2 | Just under tops of rocks | 1 Week |
| 4. Polish | 2 | Just under tops of rocks | 1 Week |
| 5. Burnish (optional) | 1/2 | Just under tops of rocks | 1 Hour |
Stage 1: Rough Grit (2-4 Weeks)
- Plan on a longer tumbling time than you normally would with softer stones.
- Fill the barrel two-thirds full with a blend of 20% ceramic media and 80% tiger’s eye
- For every pound of material, add two tablespoons of coarse grit
- Completely submerge/cover the rocks with water.
- Tumble for 2-4 weeks
Tigers eye is a crystalline quartz which is quite tough (7 on the Moh’s scale of hardness). So producing nicely-shaped tumbled tigers eye in the rock tumbler during the first stage with coarse grit requires more time than you might expect.
The rock tumbler I use has a capacity of 2-3 pounds and I would say that 3 weeks is the minimum amount of time that’s needed to get a good result from the first stage. If you’re using a tumbler with a larger capacity barrel 2 weeks may be all you need for the first stage.
It’s recommended to to tumble tigers eye in coarse grit for two weeks, clean the rough and the barrel then run it with more coarse grit for 1-2 more weeks.
Once you’re happy with the over all shape of the tigers eye, it’s time to move on to the next stage.
Stage 2: Medium Grit (1 Week)
- Thoroughly wash the tigers eye and the barrel
- Fill the barrel 2/3 full. Add more ceramic media to bring it to the correct level
- For every pound of material, add two tablespoons of medium grit
- Add just enough water the tops of the rocks barely poke out
- Tumble for 1 week (Take care not to over tumble)
The medium grit step is pretty standard when tumbling tigers eye. The only thing I think I would mention here for this stage is to be careful not to over tumble the stones. Over tumbling during this stage could potentially lead to bruising.
Stage 3: Fine Grit (1 Week)
- Thoroughly wash the tigers eye and the barrel
- Fill the barrel 2/3 full. Add more ceramic media to bring it to the correct level
- For every pound of material, add two tablespoons of medium grit
- Add just enough the tops of the rocks barely poke out
- Tumble for 1 week (Take care not to over tumble)
Same as before, the fine grit step is pretty standard when tumbling tigers eye. Again, be careful not to over tumble the stones. Over tumbling during this stage could potentially lead to bruising.
Stage 4: Polish (1 Week)
- Thoroughly wash the tigers eye and the barrel
- Fill the barrel 2/3 full. This time add polished or broken in ceramic media to bring it to the correct level. New media can have residue on it that can scratch your stones in this stage.
- For every pound of material, add two tablespoons of polish
- Add just enough water the tops of the rocks barely poke out
- Tumble for 1 week (Take care not to over tumble)
Stage 5: Burnishing (optional)
Tigers eye is a stone that is known for taking an excellent polish without burnishing. However, if you find that a final burnishing step is required, this is how.
- Thoroughly wash the tigers eye and the barrel
- Fill the barrel 2/3 full. This time add polished or broken in ceramic media to bring it to the correct level. New media can have residue on it that can scratch your stones in this stage.
- Add 1/2 tablespoon of Ivory bar soap shavings per pound of rocks
- Add just enough water the tops of the rocks barely poke out
- Tumble for 1 hour only
- Online rock and mineral club for collectors of all levels!
- Find community with like-minded rock and mineral enthusiasts.
- Monthly Giveaways!
- Free Access to Entire Digital Library of Products (current and future products)*
