


How To Tell If a Rock Is A Geode
Every rockhound loves a good geode. It’s always fun cracking them open to see what kind of surprises are inside. And even though geodes are readily available online, the best ones are those that we find ourselves. While it can be tempting to start breaking into every rock you find to see what’s inside, there’s usually a few things you can look for before you start breaking into rocks.
Geodes are a specific type of geological formation and can usually be identified by their round shape and bumpy texture. These reliable indicators don’t tell the whole story, however.
So, let’s go a bit further and give you an overview of how to tell if that rock you’ve got is a geode or not.
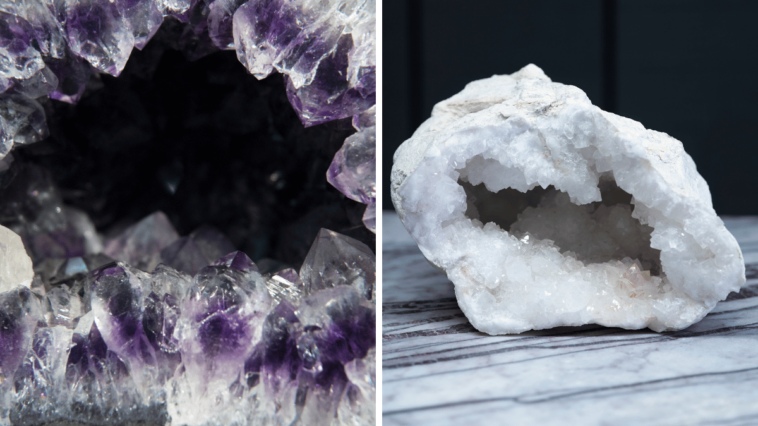
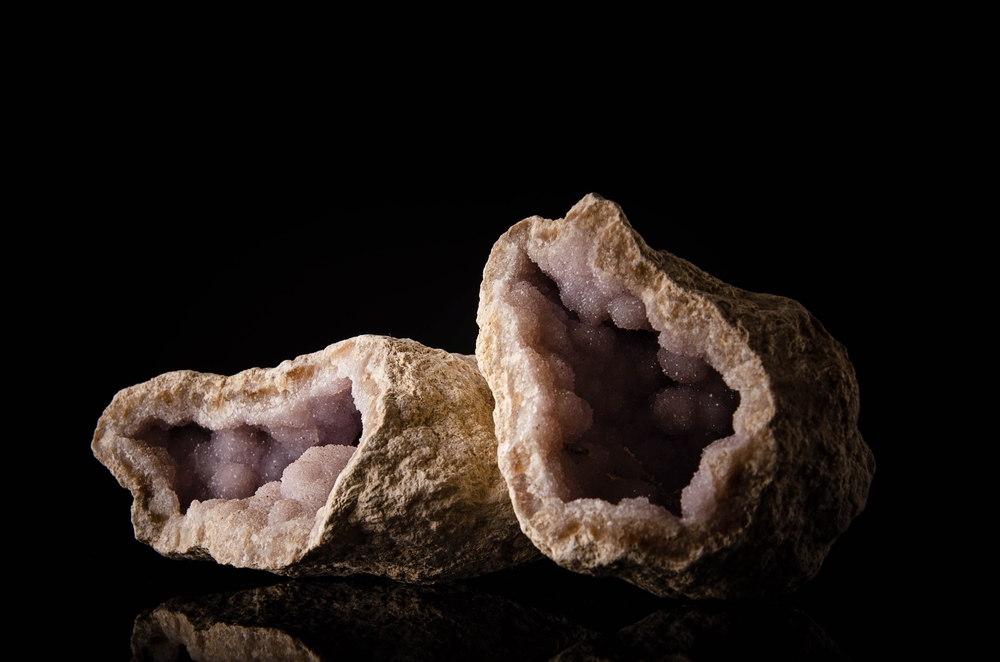
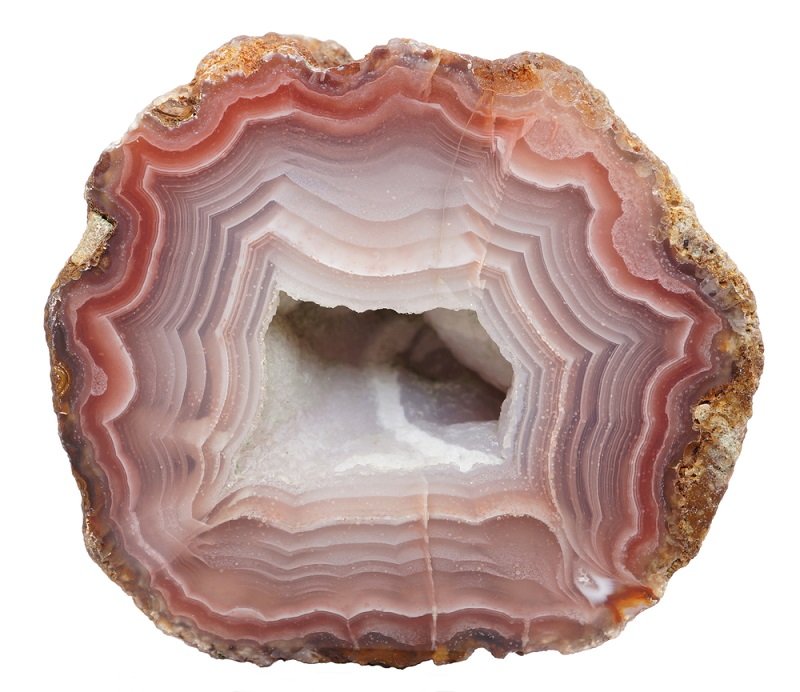
Strictly speaking, a geode is a hollow nodule of crystals. The internal cluster is always surrounded on the exterior by crystal formations.
Geodes are always hollow, it’s their defining feature. The interior crystal formation can be of any kind and the stone remains a geode.
But not every crystal-bearing rock is a geode. Stones that are filled in completely in a solid manner are known as nodules.
Nodules can form in round shapes with a stable matrix, usually rhyolite, to make the geological formations known as thundereggs. Thunderegg is sometimes used for any spherical, filled nodule but strictly speaking it’s a geographic name for spherical nodules.
All geodes are nodules, but not all nodules are geodes.
Location, Location, Location
Geodes don’t form randomly – they require very specific geological conditions. While not extremely rare, they do tend to occur only in relatively small areas with the right rock types and depositional environments.
Geodes are most likely to be found in regions with a geological history involving significant volcanic activity, hydrothermal circulations, or mineral-rich sedimentary basins. While they can certainly form in other environments, targeting areas with these past conditions gives you the best chance of success when hunting for them.
Most geodes found today were formed millions of years ago in volcanic rock deposits and hydrothermal systems. Here are some of the key geological factors that produce geode-bearing regions:
Volcanic Ash Beds & Lava Flows
- Many geodes are found in volcanic ash beds, tuff deposits or ancient lava/magma flows
- As the volcanic materials cooled, gases escaped leaving bubbles/cavities that could become geodes
- Prime examples are the “desert rose” gypsum geodes found in volcanic deposits in Spain and Mexico
Sedimentary Basins with Silica-Rich Fluids
- Some geodes formed when silica-rich hydrothermal waters flowed into porous sedimentary rocks like limestone
- Dissolving created cavities, and silica precipitation over time formed interior crystals
- The Warsaw Formation geodes of Illinois/Missouri formed in this way
Ancient Hydrothermal Vents
- Underwater hydrothermal vents commonly create mineral deposits suitable for geode formation
- As metal-rich superheated fluids cooled, minerals precipitated and formed geodes
- Many geodes found in the Midwestern US likely originated from ancient sea vents
Some of the best fields for geodes in the US tend to be in the Western US in desert areas. Some of the most famous are in Southern California, which is a bonus if your whole vacation isn’t centered on rockhounding trips.
States with notable geode deposits include:
- California
- Arizona
- Nevada
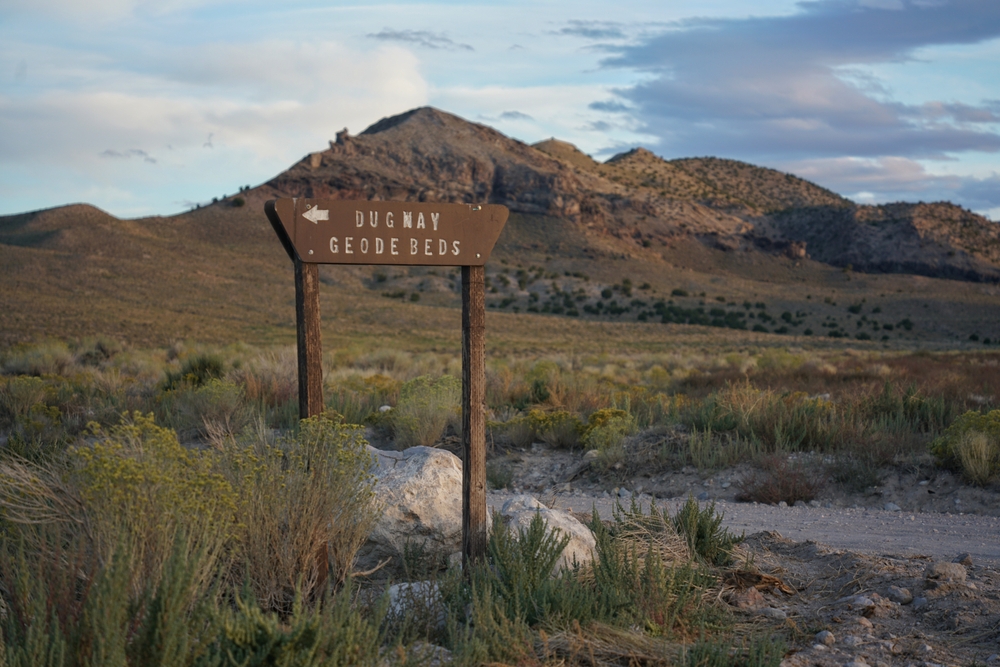
- Utah
- Iowa
There’s a lot of public lands (BLM) in the Western US that contain geodes, so do some research if you’re headed out to the Pacific. You’ll find some great dig spots along the way.
Smaller locations can often be found in those states if you know where to look. Getting involved with the rockhounding community can lead to a lot of spots off the beaten trail.
If you’re not in an area that’s known for geodes and find something that matches them on the outside you may be looking at agate, jasper, or other cryptocrystalline silica forms.
Different areas will also have different types of geodes. The crystals contained within them range from calcite to quartz to fluorite to pyrite. They’re a unique formation, after all, not a unique stone!
Tell-Tale Signs of a Geode

The following signs are good indicators you’ve got a geode on your hands.
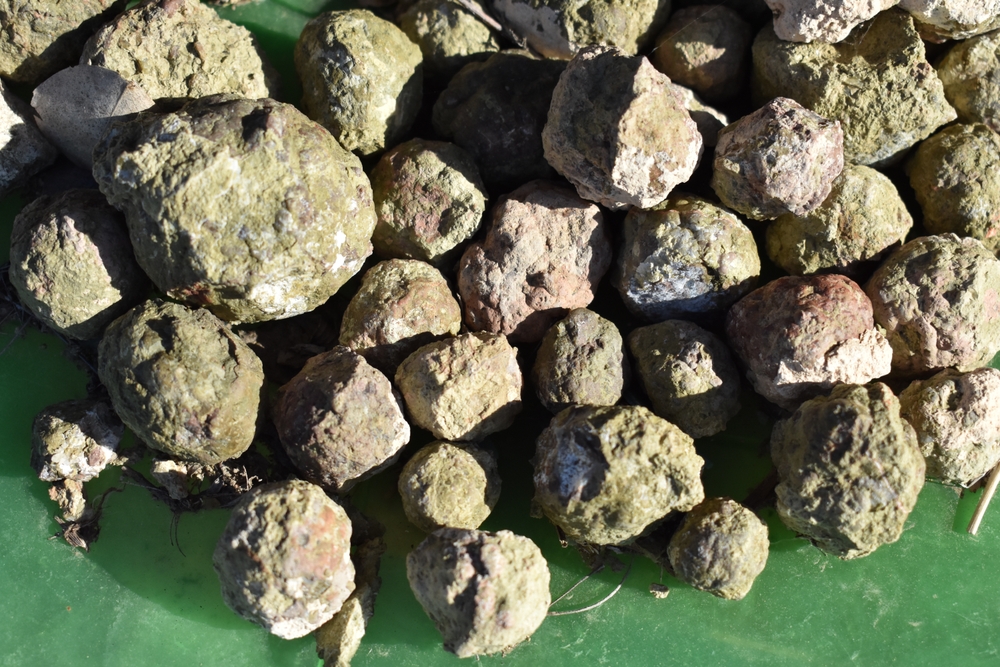
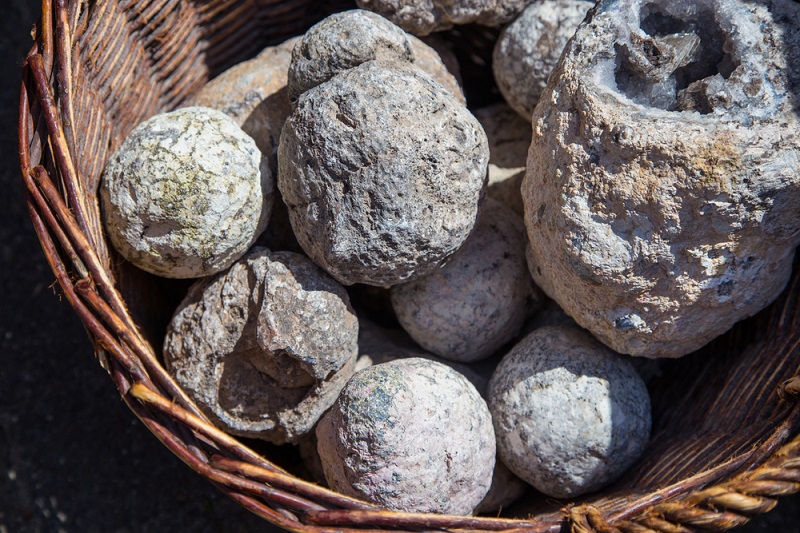
- Geodes are usually spherical, but they always have a bumpy surface.
- Geodes will sometimes have loose material inside, which can be heard when shaking the rock. You can also tap lightly with a stone or hammer to see if it sounds hollow.
- Geodes are usually lighter than their size would indicate since the interior doesn’t contain any material.
- Ask yourself, are you in an area where geodes are normally found?
If the stone you’re looking at meets the above, there’s a good chance you’ve got a geode on your hands.
What To Look For on The Outside of a Geode
Besides knowing the locality of where your potential geode came from, the next most important thing to pay attention to are the outside features of the stone.
Features to look for on the outside:
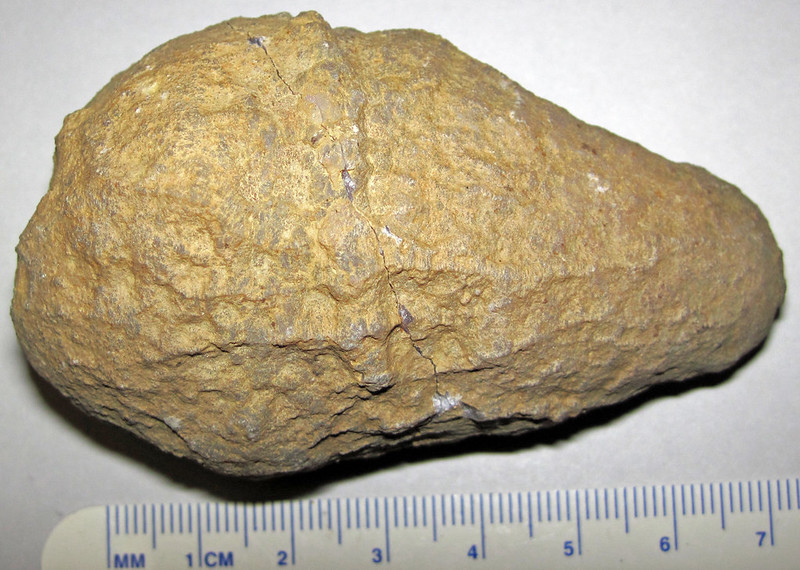
- You’ll typically find a bumpy, uneven surface. Sometimes you can even find them with nodule like bumps on the outside surface. If it’s smooth, then most likely what you have is not a geode.
- They’re almost always spherical in shape. So if what you have is a triangular or pointy specimen, then most likely it is not a geode.
Cracking Open Your Geodes
Breaking open a geode can be a tricky affair. There’s a number of ways that you can go about it, some messy and some much more precise. It really boils down to what you plan on doing with your geode after it’s opened.
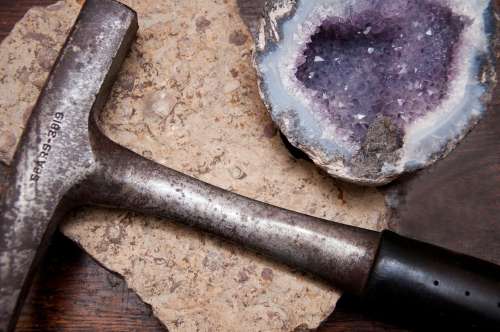
The Rough Method
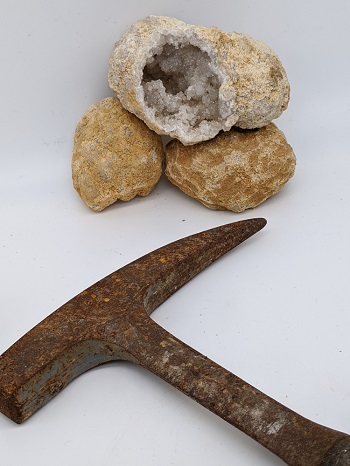
Not everyone has access to specialized equipment, so you may need to use this simple, but rough method to crack it open. Just know, however, that this method can result in “pieces” as opposed to two halves.
Put your safety glasses on, grab your hammer, and secure the geode.
In the field, you can place the geode between a couple of larger rocks. At home, you can use a vice or something similar to hold the stone in place.
You want to try for a small initial hole, so you’ll have more material to work with afterward. Don’t neglect the corners of a rock hammer’s face, that single point of contact is great for creating clean fractures in silica materials.
Use the corner of the face and tap with increasing pressure until you break into the cavity. You can then use the pick end of your rock pick or a flathead screwdriver to break off smaller pieces of the exterior to create your display piece.
If you’re looking for a cleaner cut without lapidary equipment, you’ll need a chisel.
Use the chisel to create a line around the center of the geode, gradually increasing the depth. When you’re slightly into the interior material you can place the chisel in the scored line and strike it with a hammer.
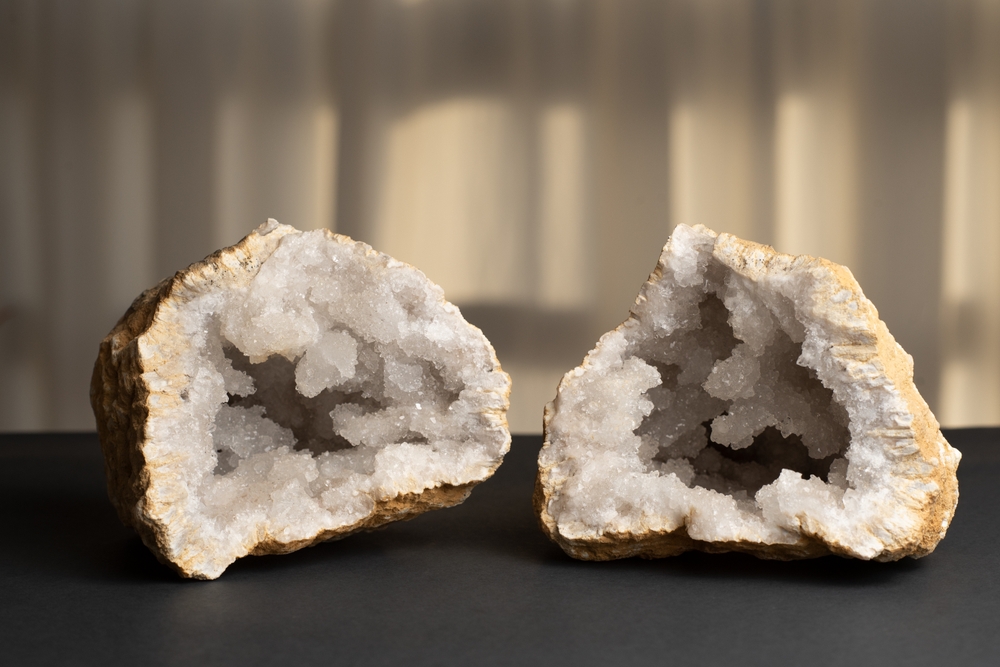
While not as predictable as a saw, this often leaves you with two halves that can be cleaned up.
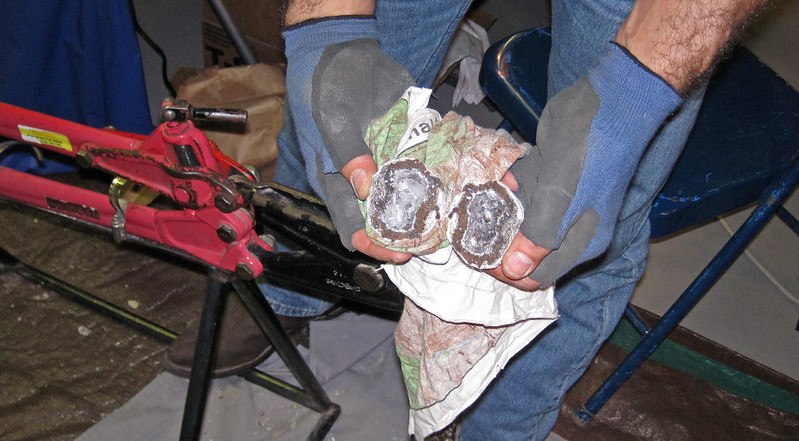
The Pipe Cutter Method
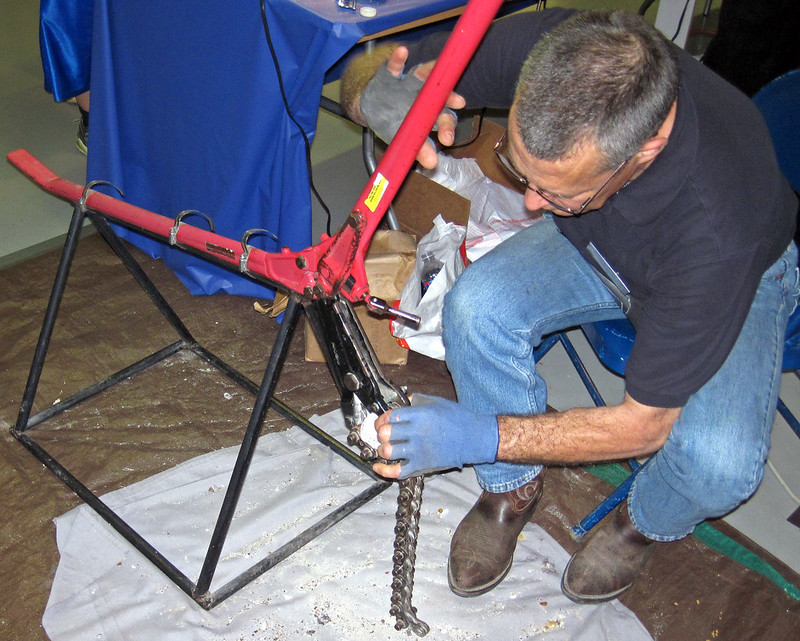
Using a pipe cutter and chain is a great way to crack open geodes without shattering them, if you happen to have access to one. They’re not cheap, but if you plan on opening a lot of geodes, they’re worth having around.
To open a geode using a pipe cutter and chain, first wrap the chain snugly around the geode’s circumference, ensuring even placement of the links. Attach the pipe cutter to the chain and slowly tighten it to apply pressure. This method relies on the chain to uniformly distribute the force, causing the geode to crack along its natural lines without shattering.
Once you hear or feel a crack, stop tightening, remove the apparatus, and gently pull the geode apart to reveal the crystalline structures inside. Always wear safety goggles during this process to protect your eyes from potential debris.
My Favorite Way of Cutting Open Geodes
Cutting a geode with a lapidary saw is probably going to be your best bet for ending up with an impressive shelf specimen.
Lapidary saws are rather easy to use, but access is a big problem for most people. If you live in a city try looking up local rock clubs, they’ll often have equipment available in a workshop for members.
If you don’t have any access to a lapidary saw, a wet tile saw will work just fine. I use one and have had great results.
Make sure the tile saw runs wet and replace the initial blade with a lapidary blade in the same dimensions.
In either case, you’ll just need to pass the geode through the blade of the saw. You’ll end up with a near perfect cut every time.
- Online rock and mineral club for collectors of all levels!
- Find community with like-minded rock and mineral enthusiasts.
- Monthly Giveaways!
- Free Access to Entire Digital Library of Products (annual memberships)
