Soldering is among the more frustrating tasks for a new silversmith, but it’s also fundamental to creating anything more complex than a silhouette cutout. The main problem for most people is just learning how to do it and how to fix issues that might arise during the process.
Let’s jump right in and get started with our guide to soldering sterling silver.
Read More: Learn Silversmithing On Your Own! (How to Get Started!)
Before We Begin
There are a few key things you need to understand before you attempt to solder.
- Even Heating- Both sides of a solder joint need to be heated to a mostly equal temperature for the solder to flow correctly on your piece.
- Solder Doesn’t Fill- Silver solder won’t fill any gaps, well at least not any larger than a tenth of a millimeter. Joint preparation is key to creating a seamless joint.
- Stop and Troubleshoot- If your soldering operation doesn’t work… don’t just grab the torch and try again. Take some time to figure out what the problem is. We’re going to stick a handy little troubleshooting list below.
You should also keep your PPE on when soldering. That includes safety glasses, an apron, and some way to mitigate fumes. Small operations can be undertaken with an open window, but larger pieces can put off a considerable amount of fumes.
A respirator will also work if you’re unable to set up a fume extraction hood.
What You Need
You’ll need a few things to get started.
- A Torch
- Cross-lock Tweezers or Pliers
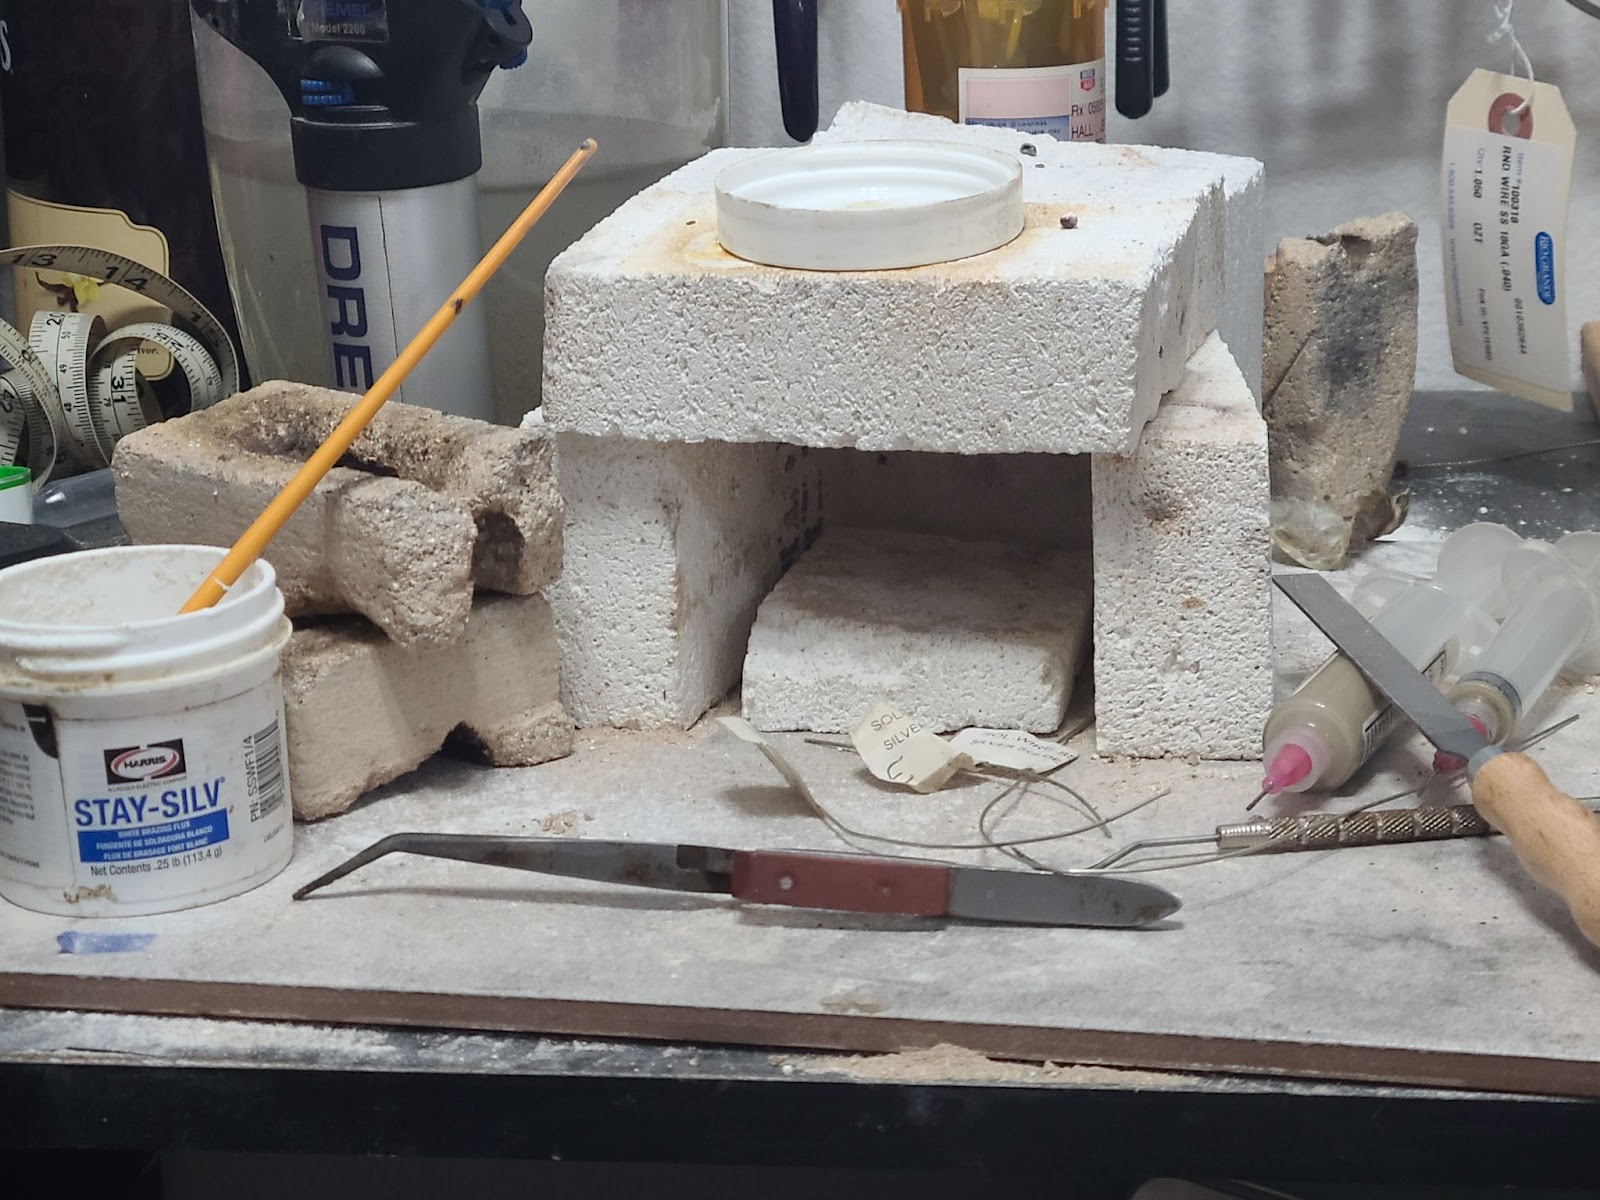
- A Soldering Surface (firebrick, honeycomb, charcoal block, etc.)
- Silver Solder
- Flux
- A jar or bowl of water for quenching
- A second jar or bowl with a pickling solution
These should get you there, but I also recommend keeping an abrasive like sandpaper nearby. If you use a tile as the base for your soldering station (and you should unless you’re working on a steel bench) you can tape a bit of sandpaper to one of the corners.
If you don’t want stronger acids in your workshop, a white vinegar/salt solution will do fine as a pickle. Most people add 1 tablespoon of salt per cup of vinegar, I just heat the vinegar up in the microwave and add salt until the solution is saturated.
This gives you access to an abrasive flat surface that will help immensely when you’re soldering.
Silver Solder Choices
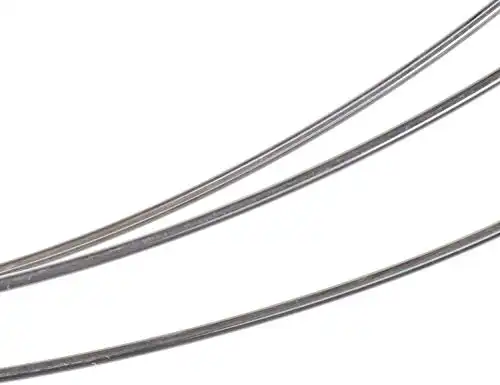
You have a few options when you’re buying silver solder. Sheet, chips, and wire are all the same material just produced in different forms. The sheet is, perhaps, the easiest to store but I keep wire on hand instead.
You can minimally work your solder. For instance, I hammer flat portions of solder wire before snipping it to create the usual chips instead of round segments that may roll around in the flux as it heats up.
Paste solder includes a flux compound, and it’s actually my favored form of solder, but it has two big drawbacks.
- Paste solder isn’t suitable for very long joints, such as a large bezel being attached to a backplate.
- Paste solder gives off nastier fumes than standard solder.
If you do opt for paste, you need to be aware of one more thing: cadmium is still included in the paste from some reputable suppliers. Cadmium is nasty stuff, and it can poison you acutely or by long-term exposure. The results, in either case, are nasty and can end your life.
Just make sure any solder you buy doesn’t have cadmium in it, but paste is the only form I’ve seen that still has it on rare occasions.
The regular tin solder you see in hardware stores is worse than useless. It’ll actually cause galvanic corrosion and the piece will fail over the course of a few years. This is the kind of solder most people think of first, so don’t fall into that trap.
Tin solder is also why people tend to think of solder as filling in gaps.
You also need to get the right “hardness” of solder.
I recommend picking up a variety pack like this one to start.
I’ll be frank here: I don’t use medium solder. Ever. My work is constructed entirely using hard solder, followed by easy solder for the final fittings like jump rings and gem settings. With good heat control, you can usually solder right on top of another hard joint. That said, it takes a long time to develop that kind of heat control.
In general, it’s recommended you use each solder grade going downwards as you put the piece together.
For instance:
- Hard solder on a bezel strip to join it into one piece.
- Medium solder to attach the backplate to the bezel.
- Easy solder to attach the bail.
Stick with doing things that way until you know what you’re doing.
The Actual Process
Understanding the process here is essential to getting a good joint and being able to repeatedly pull off successful operations.
In short, what we’re doing is the following:
- Metal has flux and solder applied to the joint
- Torch is applied
- Flux heats up, melts, and provides a protective barrier that prevents the formation of oxides.
- Metal continues to heat up, opening pores on the surface of the metal. Both sides need to be heated or the operation will fail.
- When the solder reaches flow temperature it melts, covering the area where the melted flux is present.
- Solder works into the pores of the metal while flowing and flows along the joint as well.
- While cooling, the solder remains on both sides of the metal and the join, creating a very solid bond.
It’s a bit more complex than “melt this stuff so it sticks to both bits of metal.” Trust me on this one: the more you know about the operation, the less trouble you’ll have.
How to Solder Silver
There are a few phases to soldering, and all of them can potentially cause issues farther down the road. I’ll break the whole process down into a few steps for you.
Step 1- Pre-Solder Setup
Your setup is essential. Do not just put stuff together loosely and call it good. That’s a great way to end up taking ten tries to put together a simple piece… if it ever comes together at all.
All pieces need to be 100% flush on either side of the joint.
This can mean sanding and filing the piece a bit. As a general rule: use a guide for angled joints (such as joining two 45° pieces of silver) and sand down anything flat. Use a figure-8 pattern to sand things flat, since it reduces the problems with pressure causing an uneven surface. It’ll feel a bit unnatural at first, but you’ll get used to it and it lets you get straightened surfaces without having to pay too much attention.
From there, you may or may not need to use clamps to hold things down. There are titanium strips available for shaping into specialized clips and clamps, but most people just use their cross-lock tweezers and maybe the occasional bit of binding wire.
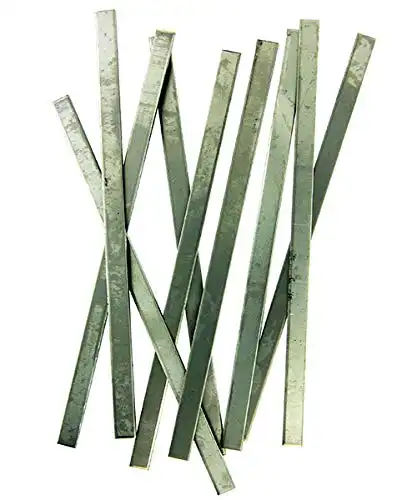
If using binding wire, be careful what you use. Copper/brass will solder to silver with zero issues, stainless steel can be silver soldered but is less likely to cause problems. You could spring for some titanium wire, but at that point, I would just suggest the above-mentioned strips.
My advice, if using wire, is to use keep it from the area which is going to be fluxed and soldered.
You don’t need pressure on the joint, you just need everything to sit flush.
Don’t worry if you end up with some Rube Goldberg-esque monster. As long as it holds together and you can fit it in the quench jar it’ll be fine.
One thing that you should consider is your torch’s heat output and the setting. Soldering, especially with hard solder, requires a lot of heat.
Step 2-Setting Up the Solder

At this stage, you’re going to want to set up the solder.
I wish I could tell you there’s a better system than eyeballing the amount of solder needed, but I have yet to come up with one or find one. Too little solder means no joint, too much means more clean-up. You’ll eventually find that nice Goldilocks place in the middle.
For paste solder: just apply it as small blobs of paste or a thin line.

For wire, sheet, or chip solder you’ll have to get set up. Wire solder is easiest to use when beaten flat with a hammer and cut from there. Sheet solder should be cut into small chips. I prefer to keep mine ~1-2mm on each side, but larger chips can also work.
Use your tweezers to carefully place the solder chips near the joint. Ideally, they’ll be touching both sides, but if you do it right the generated heat will still “suck” the solder up as long as it’s close enough to the joint.
Double and triple-check how the whole piece is setup. The first time is the easiest, and things are going to be a bit rougher if you have to troubleshoot later.
This takes time. When I started smithing, I would often call “good enough” on solder joints and then get irritated that they would fail. It seemed to me that soldering should be a small part of the whole process, and the setup even smaller.
I was very, very wrong.
It’s not uncommon for me to spcvend ten minutes setting up a basic soldering operation these days. Get it right before you fire up your torch.
Step 3-Firing

Turn your torch on and heat the metal until the solder flows, then allow it to cool to a black temperature and quench it.
Which… sounds simple enough, but it’s not quite enough instruction.
The first thing: your torch should never stop moving. Ever.
With silver and copper, your torch needs to be in constant motion because you need heat spread throughout the piece of metal. Circles or back and forth are common, which I use just depends on what hand I’m holding the torch in.
You need the whole piece to be heated to the right temperature. That depends on the solder you’re using, but in general:
- Hard Solder- Metal will be bright orange/yellow and very close to the melting point.
- Medium Solder- Dull orange is the usual flow point for medium
- Easy- Bright red or a bit lower is the flow point for easy solder.
This all depends on lighting, and learning the metal’s temperature through sight will take time. The above guidelines will get you in the right spot for the most part.
As the metal heats, the flux will flow. This can sometimes cause your chips or bits of wire solder to move, so be attentive. Backing the flame off can be risky since the solder will be caught in the flux and you may have oxidation where it shouldn’t be.
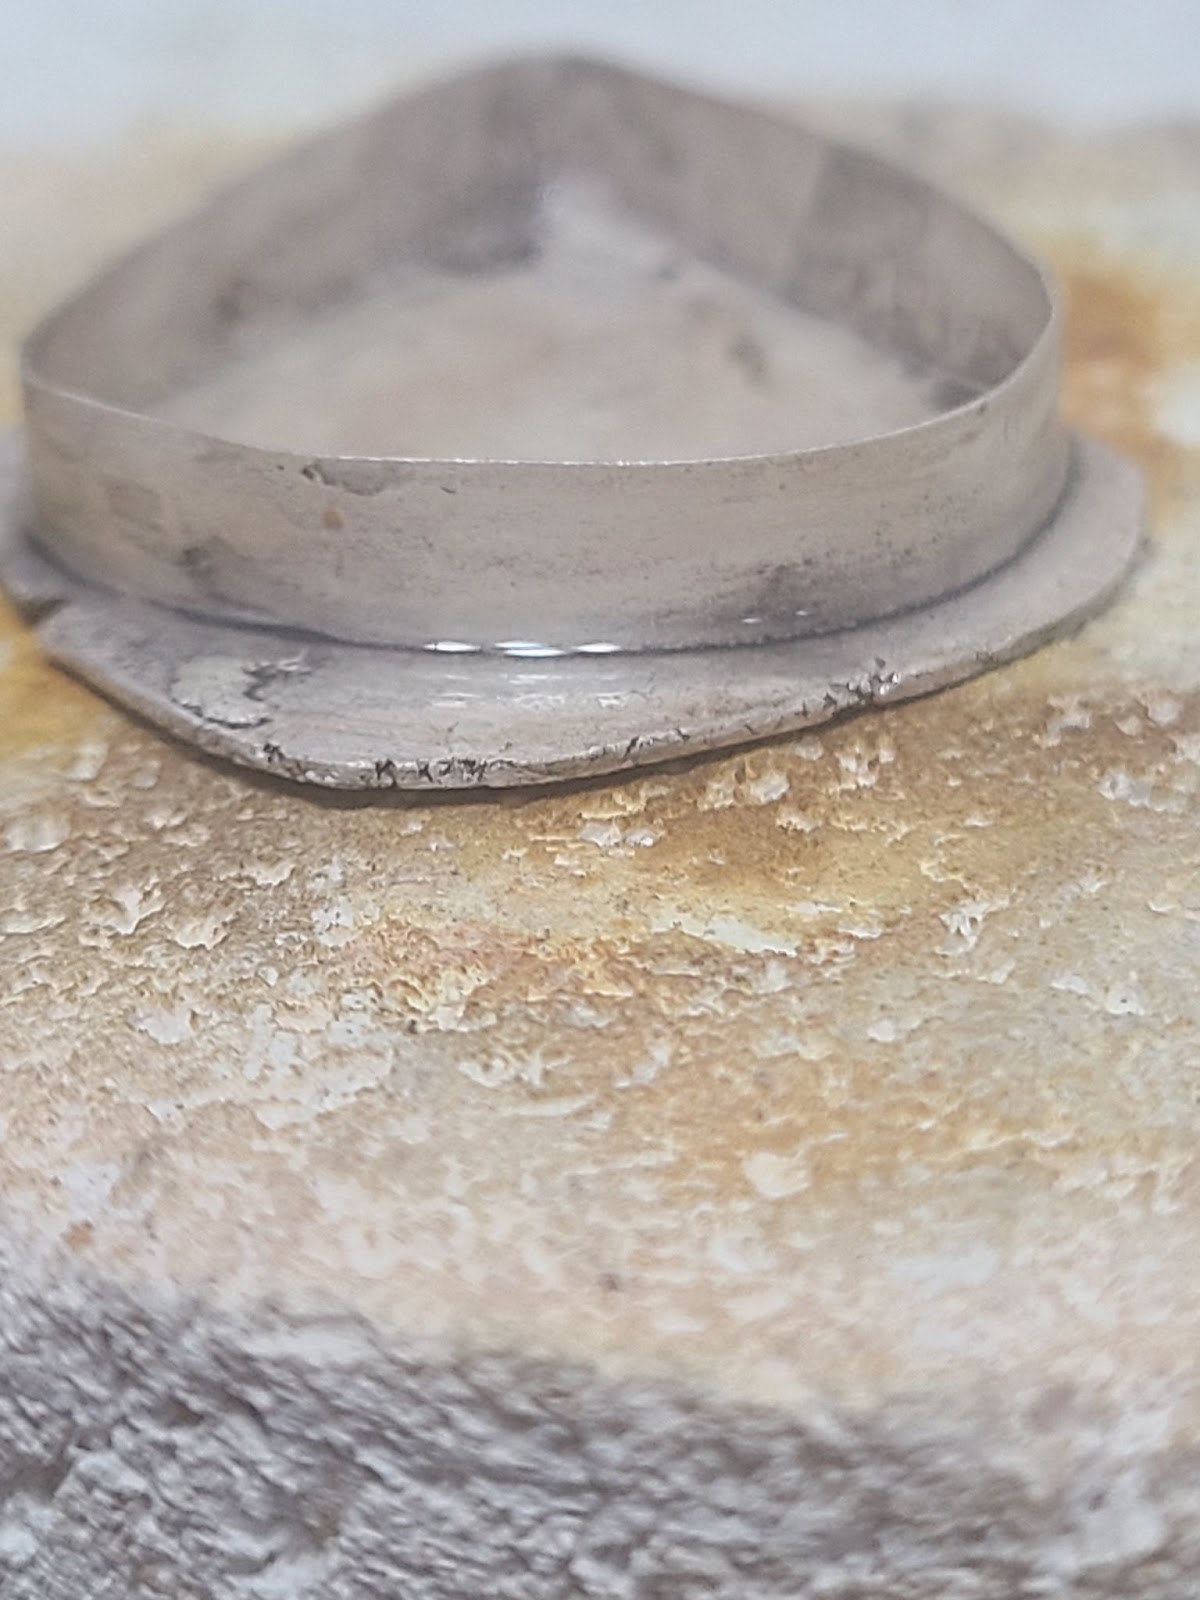
Otherwise, you just need to keep heating until you’ve got solder flowing. You should see a silver shimmer, like molten silver, on the surface of the metal as the solder flows. It often goes in an instant, solder doesn’t slowly melt as a general rule.
You can take the flame off as soon as the solder flows. For a newbie, I highly recommend this, but if you have good heat control you can sometimes “tease” solder that hasn’t flowed onto both joints by keeping things at just the right temperature to avoid having to go through the troubleshooting phase.
With hard solder, that’s asking for a melted component, but it’s doable.
The key thing to take away here is simply the fact that the whole piece of silver needs to be heated. Or at least a considerable amount on both sides of the joint.
Step 4-Quenching, Cleaning, and Testing
Allow the silver to cool to a black temperature, meaning it’s no longer glowing red visibly. You can quench earlier, but the thermal shock can produce microfractures in the joint and cause it to fail.
Now you’ll want to quench the piece. There are two approaches here:
- Quench the piece directly in your pickle. It’s a time-tested technique but risks splattering acid on things and it’s not the safest way to do things.
- Quench in water then drop in your pickle. I strongly recommend doing it this way, it’s much safer.
When you pick the piece up to quench, I always grab the smallest bit from the soldering operation. This immediately lets me know if the operation was a total failure or not, although the joint will still need testing.
After quenching, drop the piece in your pickle. How quickly this works depends on the temperature of the pickle. Most of the time in my shop is spent on tasks other than soldering, so my pickle is just in a jar that goes in the microwave for 1 ½ to 2 minutes just before I solder.
A crockpot is an easy way to keep your pickle heated through the whole day. Just look for one that doesn’t have any metal bits on the lid, as any iron exposed to acids will quickly become rust.
Keep an eye on your pickle, somewhere between 1-10 minutes the piece will appear white. This is due to depletion gilding as the acid strips the copper in the sterling silver on the surface. If you leave it too long, you’ll end up with a black layer that requires an abrasive to remove.
Solder will sometimes stubbornly resist the pickling process, in that case you want to file or sand away the excess and then place it back in the pickle.
Once you’ve pickled the piece, test the join. Flick it. Drop it. Actively push at it. You don’t need to hulk out, but you should hit it hard enough that a brittle joint will fail before you go any further.
It’s far better to fall apart in your hands than when someone owns the piece.
If it stands up to the testing… congratulations! You’ve just successfully soldered your piece. A Sunshine Cloth or a felt wheel with a polishing compound will turn the white layer back into shiny silver in no time.
Troubleshooting Soldering Operations
If the join fails, I recommend figuring out what happened before you begin to dive right back into the process. Just torching the piece again rarely yields good results.
That said, the following should help you pinpoint the problem.
Solder Won’t Melt
On occasion, no matter how hot you get a piece it will refuse to melt. I’ve run into situations where the entire piece began to melt before the solder flowed.
There are a few causes here:
- Oxidized Metal on the Joint- Oxidized silver will be dark grey to black. Always clean any oxidized metal from the soldering area before you begin the operation. Sandpaper or pickling will get rid of the oxidized metal.
- No Flux or Not Enough Flux- Most solder will only flow where you put the flux. If you didn’t brush enough on it or it didn’t penetrate the joint the solder may not melt until you’re past the critical temperature of the silver.
In any case, you’ll want to pickle before running it under the flame again if there is any visible oxidation. You can also remove it with sandpaper or files.
In cases where the solder balled but won’t run, you’re usually looking at a situation where you burned off all of the flux before you got sufficient heat. This can happen to newbies who are a bit timid with the frame, or even experienced people who get distracted during the operation.
You need to be quick and efficient when soldering, especially as a newbie. You also need clean metal to start.
The problem I see the most is simply people burning off all their flux before they get the silver hot enough.
If you’re using a weaker torch, then you may need to set up an improvised kiln using fire bricks to solder larger pieces. A butane torch can heat a surprising amount of metal to the melting point… it just may not do it before the flux has been burned off.
Failed Joints
Failed joints are the bane of every silversmith.
But, the way the joint fails is a huge indicator of where the problem was.
- Incomplete Joint- When only one part of the joint is solidly connected, you have a problem with the joint’s fitting. Solder doesn’t fill in gaps, it only connects touching pieces of metal. This is common when silver is cut rough with clippers without a file or sandpaper being used to make sure there’s a clean joint.
- Solder is Only On One Side- This is usually a heating problem, where one side was heated more than the other. The solder will flow on the flux, but not draw up onto the other piece. Clean the piece and focus on heating both sides evenly.
- Joint Looked Good But Broke- In 90% of cases, you had a contaminant in the joint that caused the failure, usually oxidized sterling on the interior of the joint.
A tight, clean fit is the key to making sure that your soldering operation goes smoothly, but you also need to distribute heat evenly on both sides of the joint for it to be a success.
A failed joint indicates a problem with either cleanliness or heat distribution.
Excess Solder
Excess solder can cause problems, especially if you’re not careful about the application of your flux. It’ll be seen on the surface of the metal as small deformations.
You’ll have to file or sand it off when this happens. Learning to use the correct amount of solder can save hours of finishing work, but it’s really just a matter of practice.
- Online rock and mineral club for collectors of all levels!
- Find community with like-minded rock and mineral enthusiasts.
- Monthly Giveaways!
- Free Access to Entire Digital Library of Products (current and future products)*
