How To Turn Your Rocks and Minerals Into Jewelry
Rocks make great decorations for our shelves, but you don’t have to leave them all at home. There are a ton of different ways for you to turn your rocks into jewelry, and there’s something for folks of every skill level!
So, let’s take a look at some great ways to turn those specimens into wearables!
1. Drilled Pendants
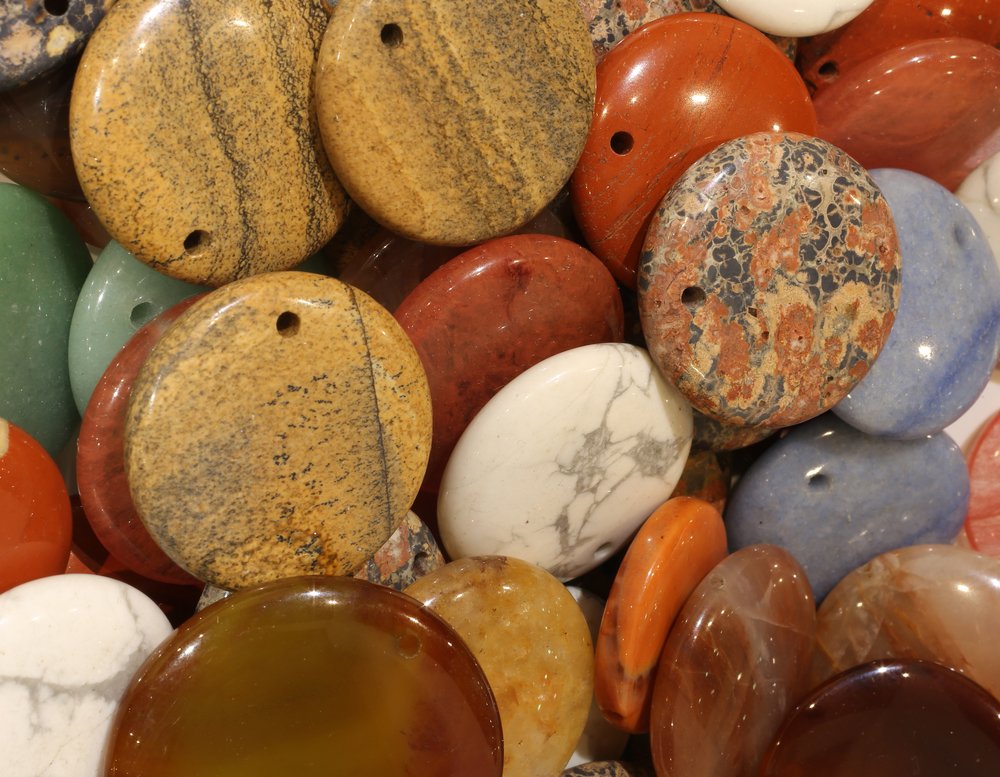
Drilling stones is a bit of a pain, but it’s doable without any seriously specialized tools. If you’ve got a rotary tool (ie: Dremel) all you need are some diamond bits and patience.
Drilling takes time, but more importantly, you need to take some basic precautions. Working the stone wet is ideal, but if you have access to a flex shaft you can actually do the drilling completely underwater. Just don’t try that with a regular Dremel or you’ll be in for a shocking surprise.
Start with a small ball burr to create the initial divot. You can then use either column or ball burrs to drill the rest of the way through the stone. Once it’s drilled, a simple lark’s head knot will allow you to use any cord or ribbon to suspend the stone!
2. Wire Wrapping
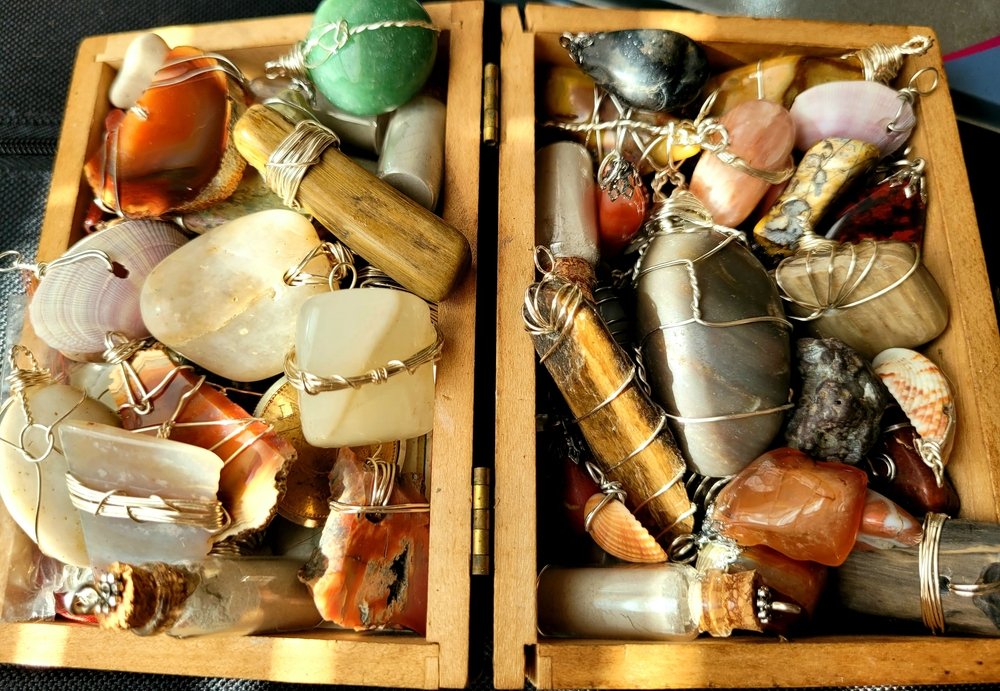
Wire wrapping can be as complex or simple as you’d like. Simple wraps are one of the easiest ways for a newbie to metalwork to get their feet wet, and most people can learn to set a cabochon in an afternoon.
You can set cabs, faceted stones, and even just tumbles with wire. We’ve got a basic guide up that will get you there in an afternoon, and you only need minimal supplies. The truth is that simple wraps are incredibly easy to accomplish.
You can get more advanced from there. Wire weaving can get quite complex, and those who choose to explore the medium further will see there’s a lot more than simple wraps that you can accomplish with wire.
Even if you don’t, it’s hard to argue that it’s not a good way for you to get some of your favorite stones into a wearable form!
3. Macrame Settings
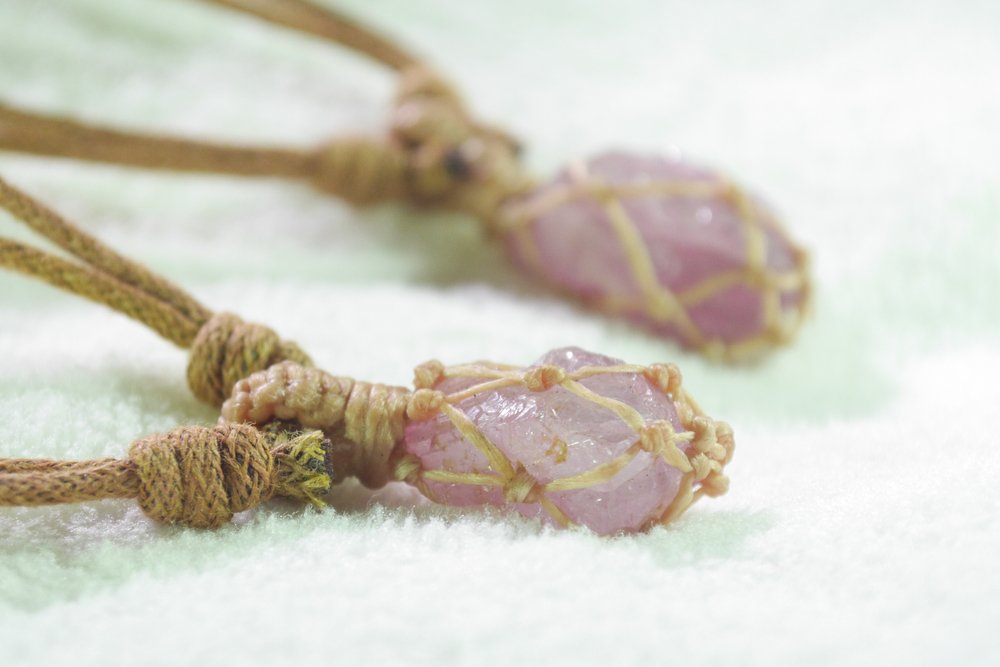
Macrame settings can take some time to learn, but the materials are cheaper than metal and it often leads to an earthier look for the final piece. Learning knotwork isn’t quite as simple as some of the others on this list, unfortunately, but given a few solid afternoons of work you’ll be impressed with what you can do.
While macrame is traditionally done with either hemp or jute twine, you can use almost anything. The materials available range from synthetics like micro-paracord to natural and expensive materials like leather.
It’s all in what you want to accomplish at the end of the day. Even better, once you have the basics down you can easily find suitable patterns online. Just make sure you have a macrame board from the start, it will save you a lot more time than you’d think.
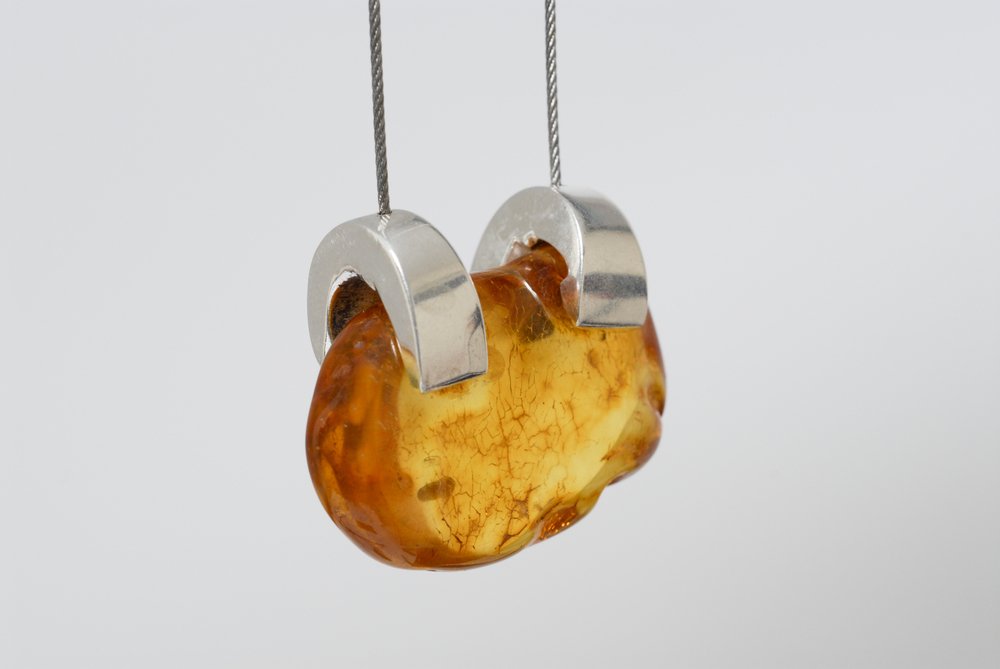
4. Traditional Silversmithing
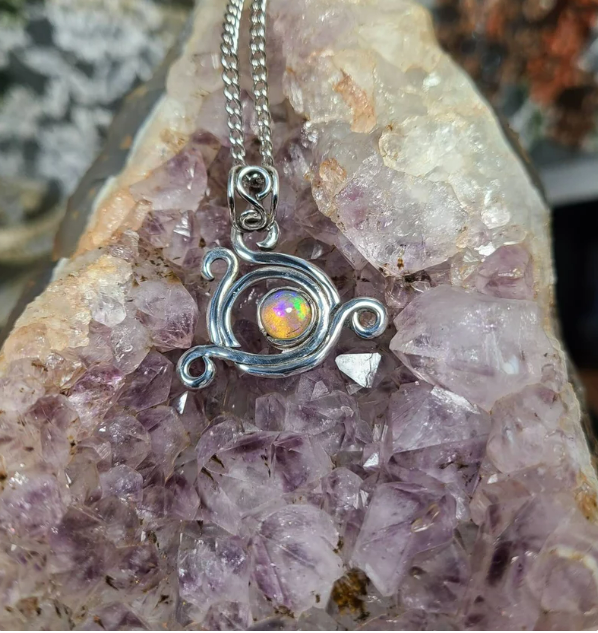
While it can be very involved, you can pull off a lot of awesome silverwork at home if that’s your passion. You don’t necessarily need specialized jeweler’s tools like rolling mills and ring benders to put together a basic pendant or ring.
You’ll need a guide to get started, but I think most people can get the hang of a basic bezel setting in an afternoon or so with instructions. I recommend a look at Andrew Berry’s “At the Bench” series on YouTube for people who are at the very beginning of the journey.
While more involved, and expensive, than most of the options on this list it’s a common path for rockhounds to take sooner or later. That said, you don’t need to become a master smith to make sure your favorite specimens are on display!
5. Glue-On Bails
Perhaps the simplest way to instantly turn a stone into a pendant is through the use of glue-on bails. The idea is simple: you buy the bail for the pendant, and then you attach it to the stone using glue or epoxy.
I recommend something like E6000 for attachment, instead of the normal cyanoacrylate super glues. The latter is fine for many uses, but it’s too easy for shearing force to break the bond of the glue and leave you with a lost stone.
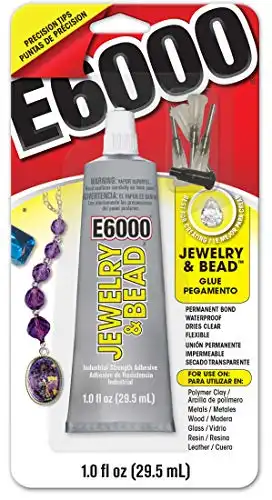
While not the most complex way to put together a pendant, glue-on bails are great for those who lack DIY skills. Just give the glue some thought before you attach the bail, it’s really the biggest factor in determining how long the pendant will last before it needs replacement.
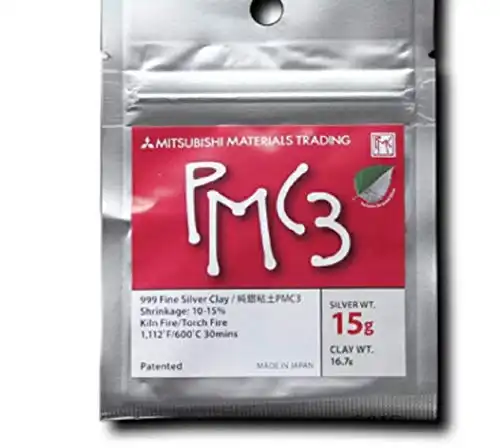
6. Precious Metal Clay
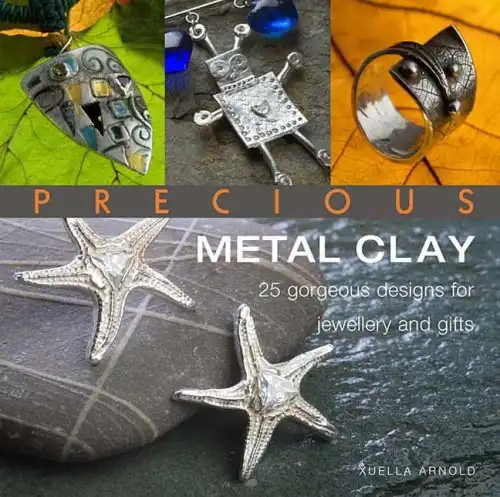
Precious metal clay is cool stuff. The concept is simple enough: the clay sinters together when it’s been fired, leaving behind a piece of metal. While the final product is often porous, it’s always solid metal as well.
While it’s a bit more expensive than many options, it’s hard to argue with the ability to literally sculpt metal. Most brands, such as PMC3 can even be torch-fired right at home!
Precious metal clay is a great material, especially for those with experience in sculpting. You’ll be able to create whatever your hands can put together but you do need to understand enough about settings to create them in your piece. The majority of stones won’t be able to withstand the prolonged high temperatures required to sinter the metal together and create the final product.
7. Polymer Clay
Polymer clay actually makes a decent setting for the majority of stones, you just have to learn how to work it right. Sculpey Firm or Sculpey 3 are both a good starting point for someone who doesn’t know their clay well.
Just be aware that if a piece is over ½” in thickness, you’ll most likely need to use some kind of armature. Aluminum foil is great for the purpose, especially since you can force it into whatever shape you’ll need.
The best part about polymer clay is that few stones will take damage at the relatively low temperatures used to harden it. That means you won’t need to create an actual setting and hope the size remains true once the piece has been fired.
While polymer clay may not have the appeal of precious metal clays, it’s certainly one of the most beginner-friendly ways to create jewelry from rocks at home!
- Online rock and mineral club for collectors of all levels!
- Find community with like-minded rock and mineral enthusiasts.
- Monthly Giveaways!
- Free Access to Entire Digital Library of Products (current and future products)*
